Store Foundation
Theme Setup
Understand how your store's design works — sections, blocks, templates, and settings — so you can build with confidence.
Watch the Video
Opens in Skool community
- A theme is your store's entire design — everything the customer sees, from header to footer
- Sections are full-width building blocks — hero banners, product grids, text blocks, footers
- Blocks are smaller pieces inside sections — a heading, a button, a text paragraph
- You don't need to code anything — the Theme Editor is drag-and-drop
Why this matters
Before you start designing your store, you need to understand the tool you're using. The Theme Editor is where you'll spend most of your time. If you understand how sections, blocks, and templates connect — building your product pages and homepage becomes 10x faster. This guide teaches you the vocabulary. The building comes in the next guides.
1
Browse & Add a Theme
- In your Shopify admin, go to Online Store > Themes — this is where all your themes live
- Your store comes with a default theme. Below it, you'll see any draft themes you've added but not published yet.
- "Customize" opens the Theme Editor for the active theme. "Edit theme" opens it for a draft.
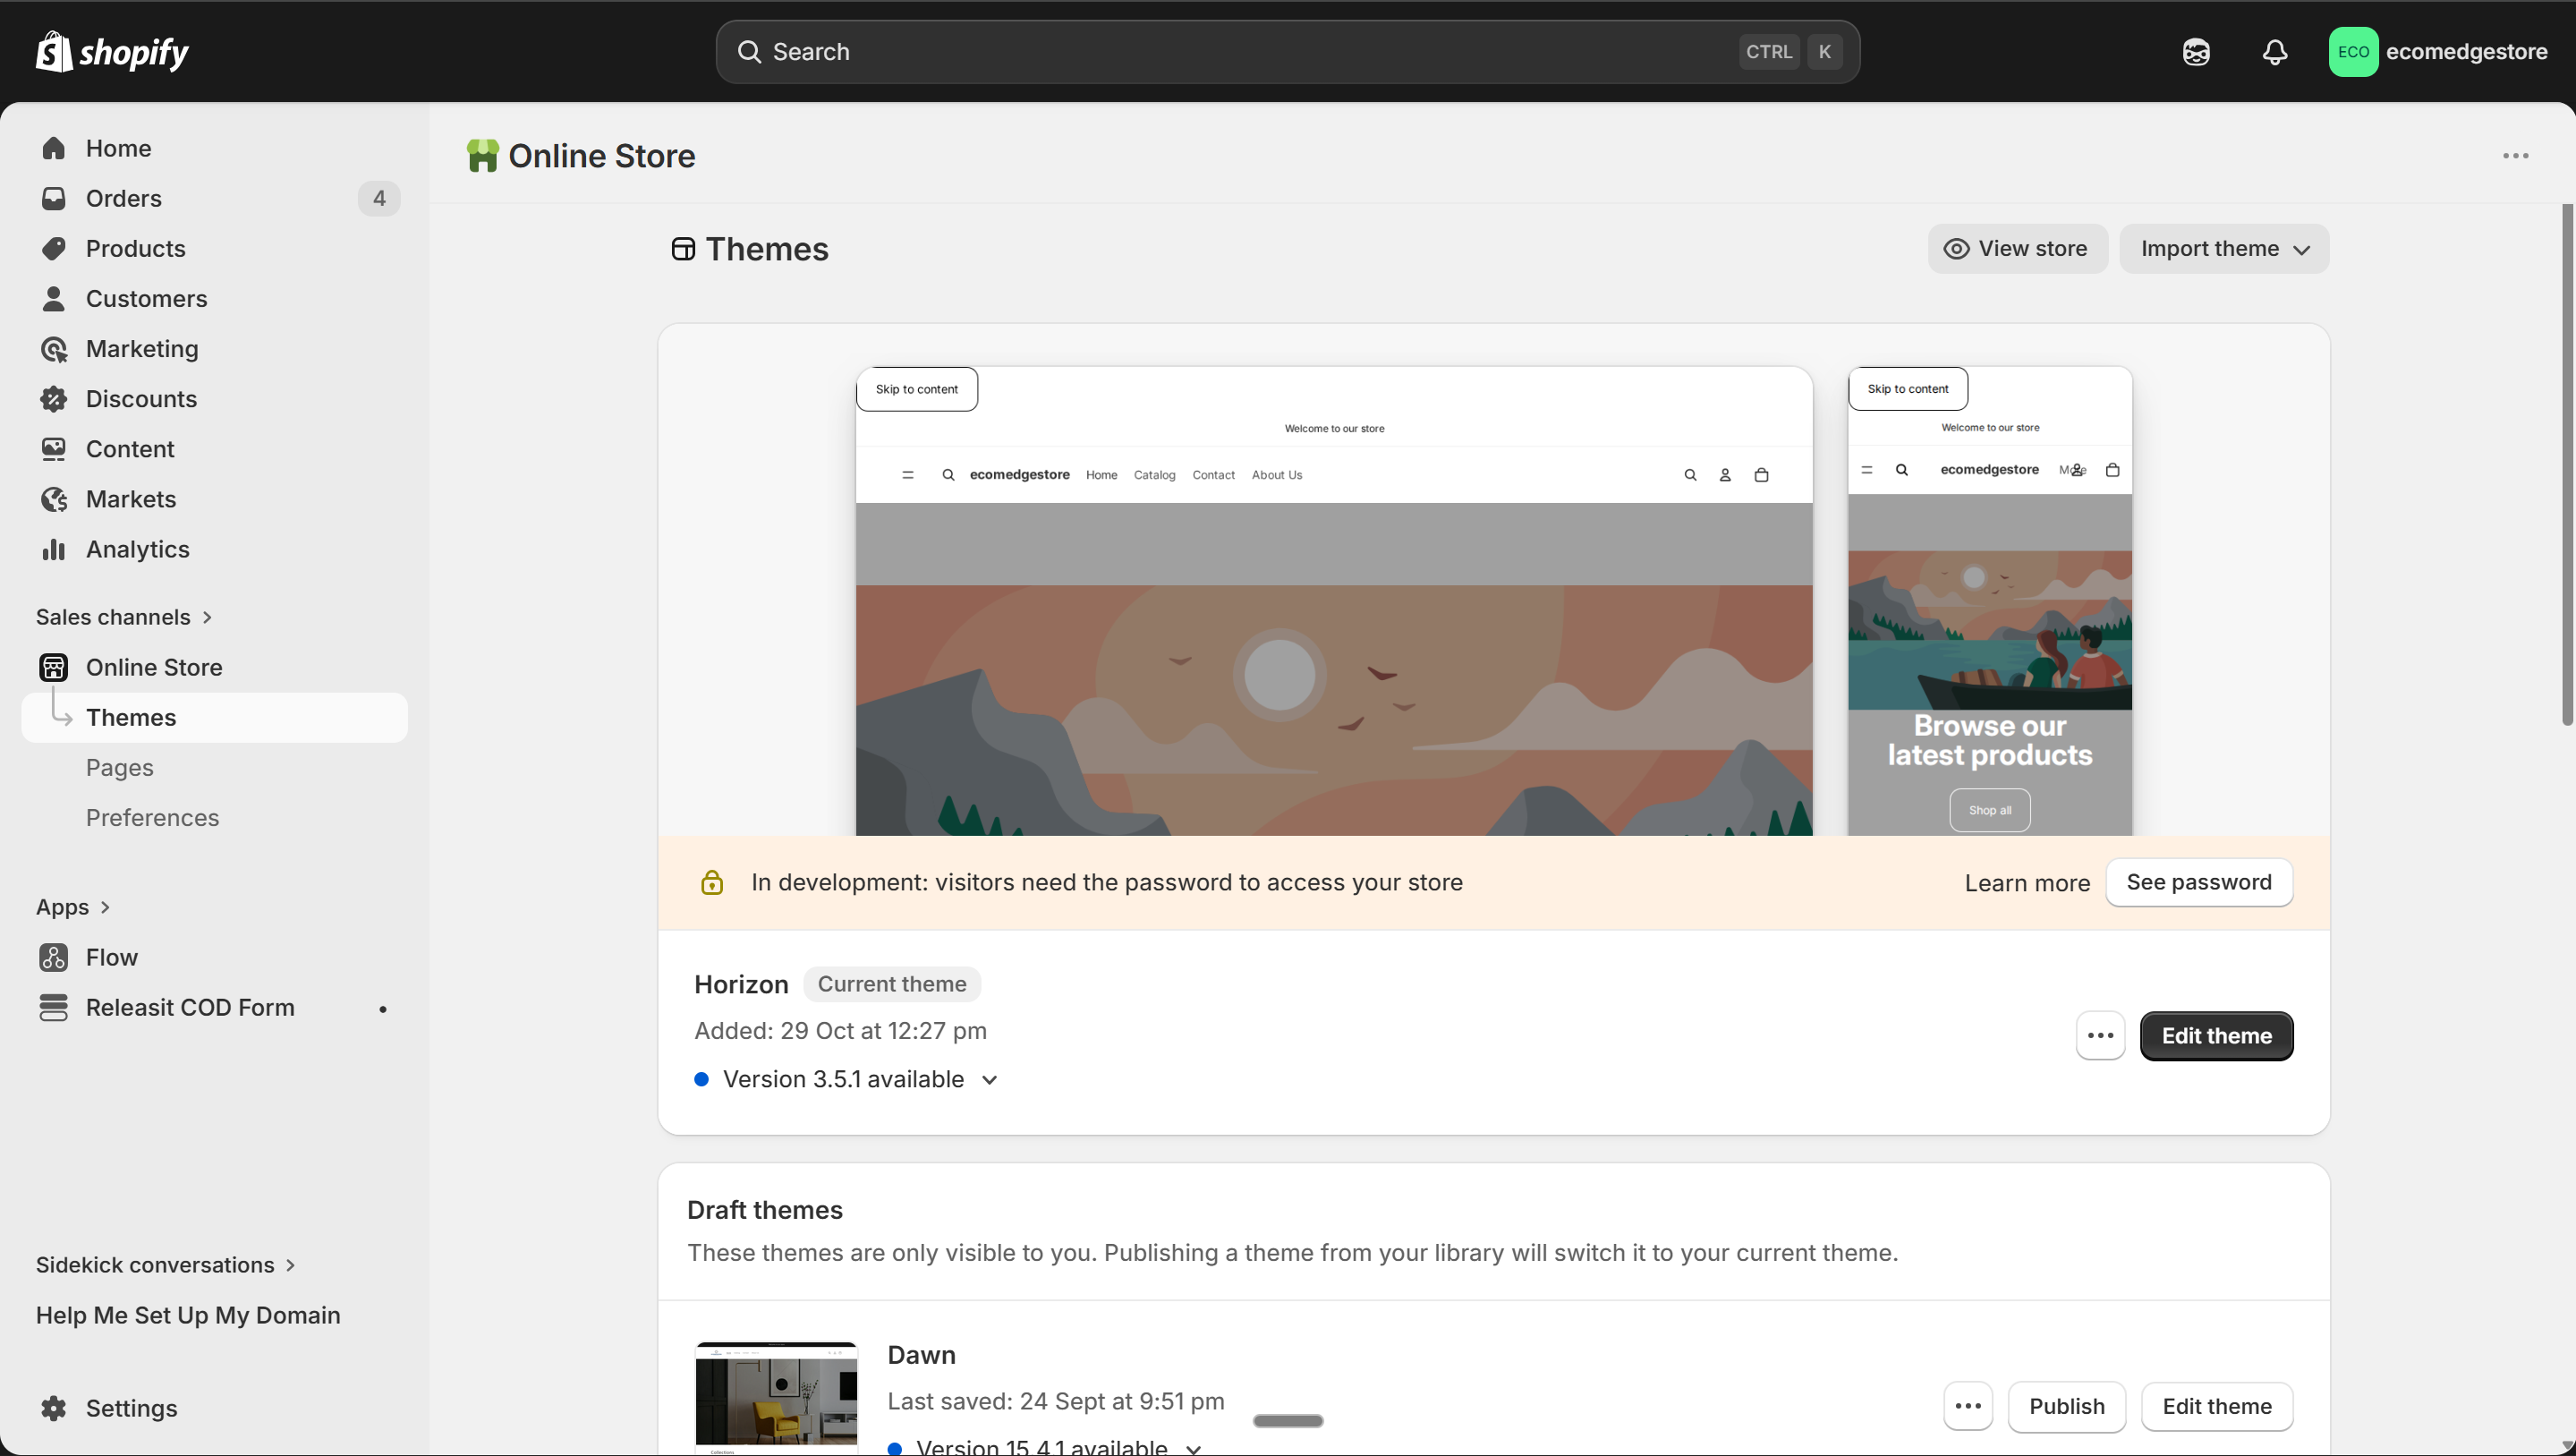
Online Store > Themes — your current theme on top, drafts below
Shopify Admin
- To add a new theme, scroll down and click "Visit Shopify Theme Store" or go to themes.shopify.com
- Filter by "Free" — Shopify has 24+ free themes that are production-ready
- Pick any OS 2.0 theme like Dawn or Trade. Browse, preview, and when you find one you like — add it.
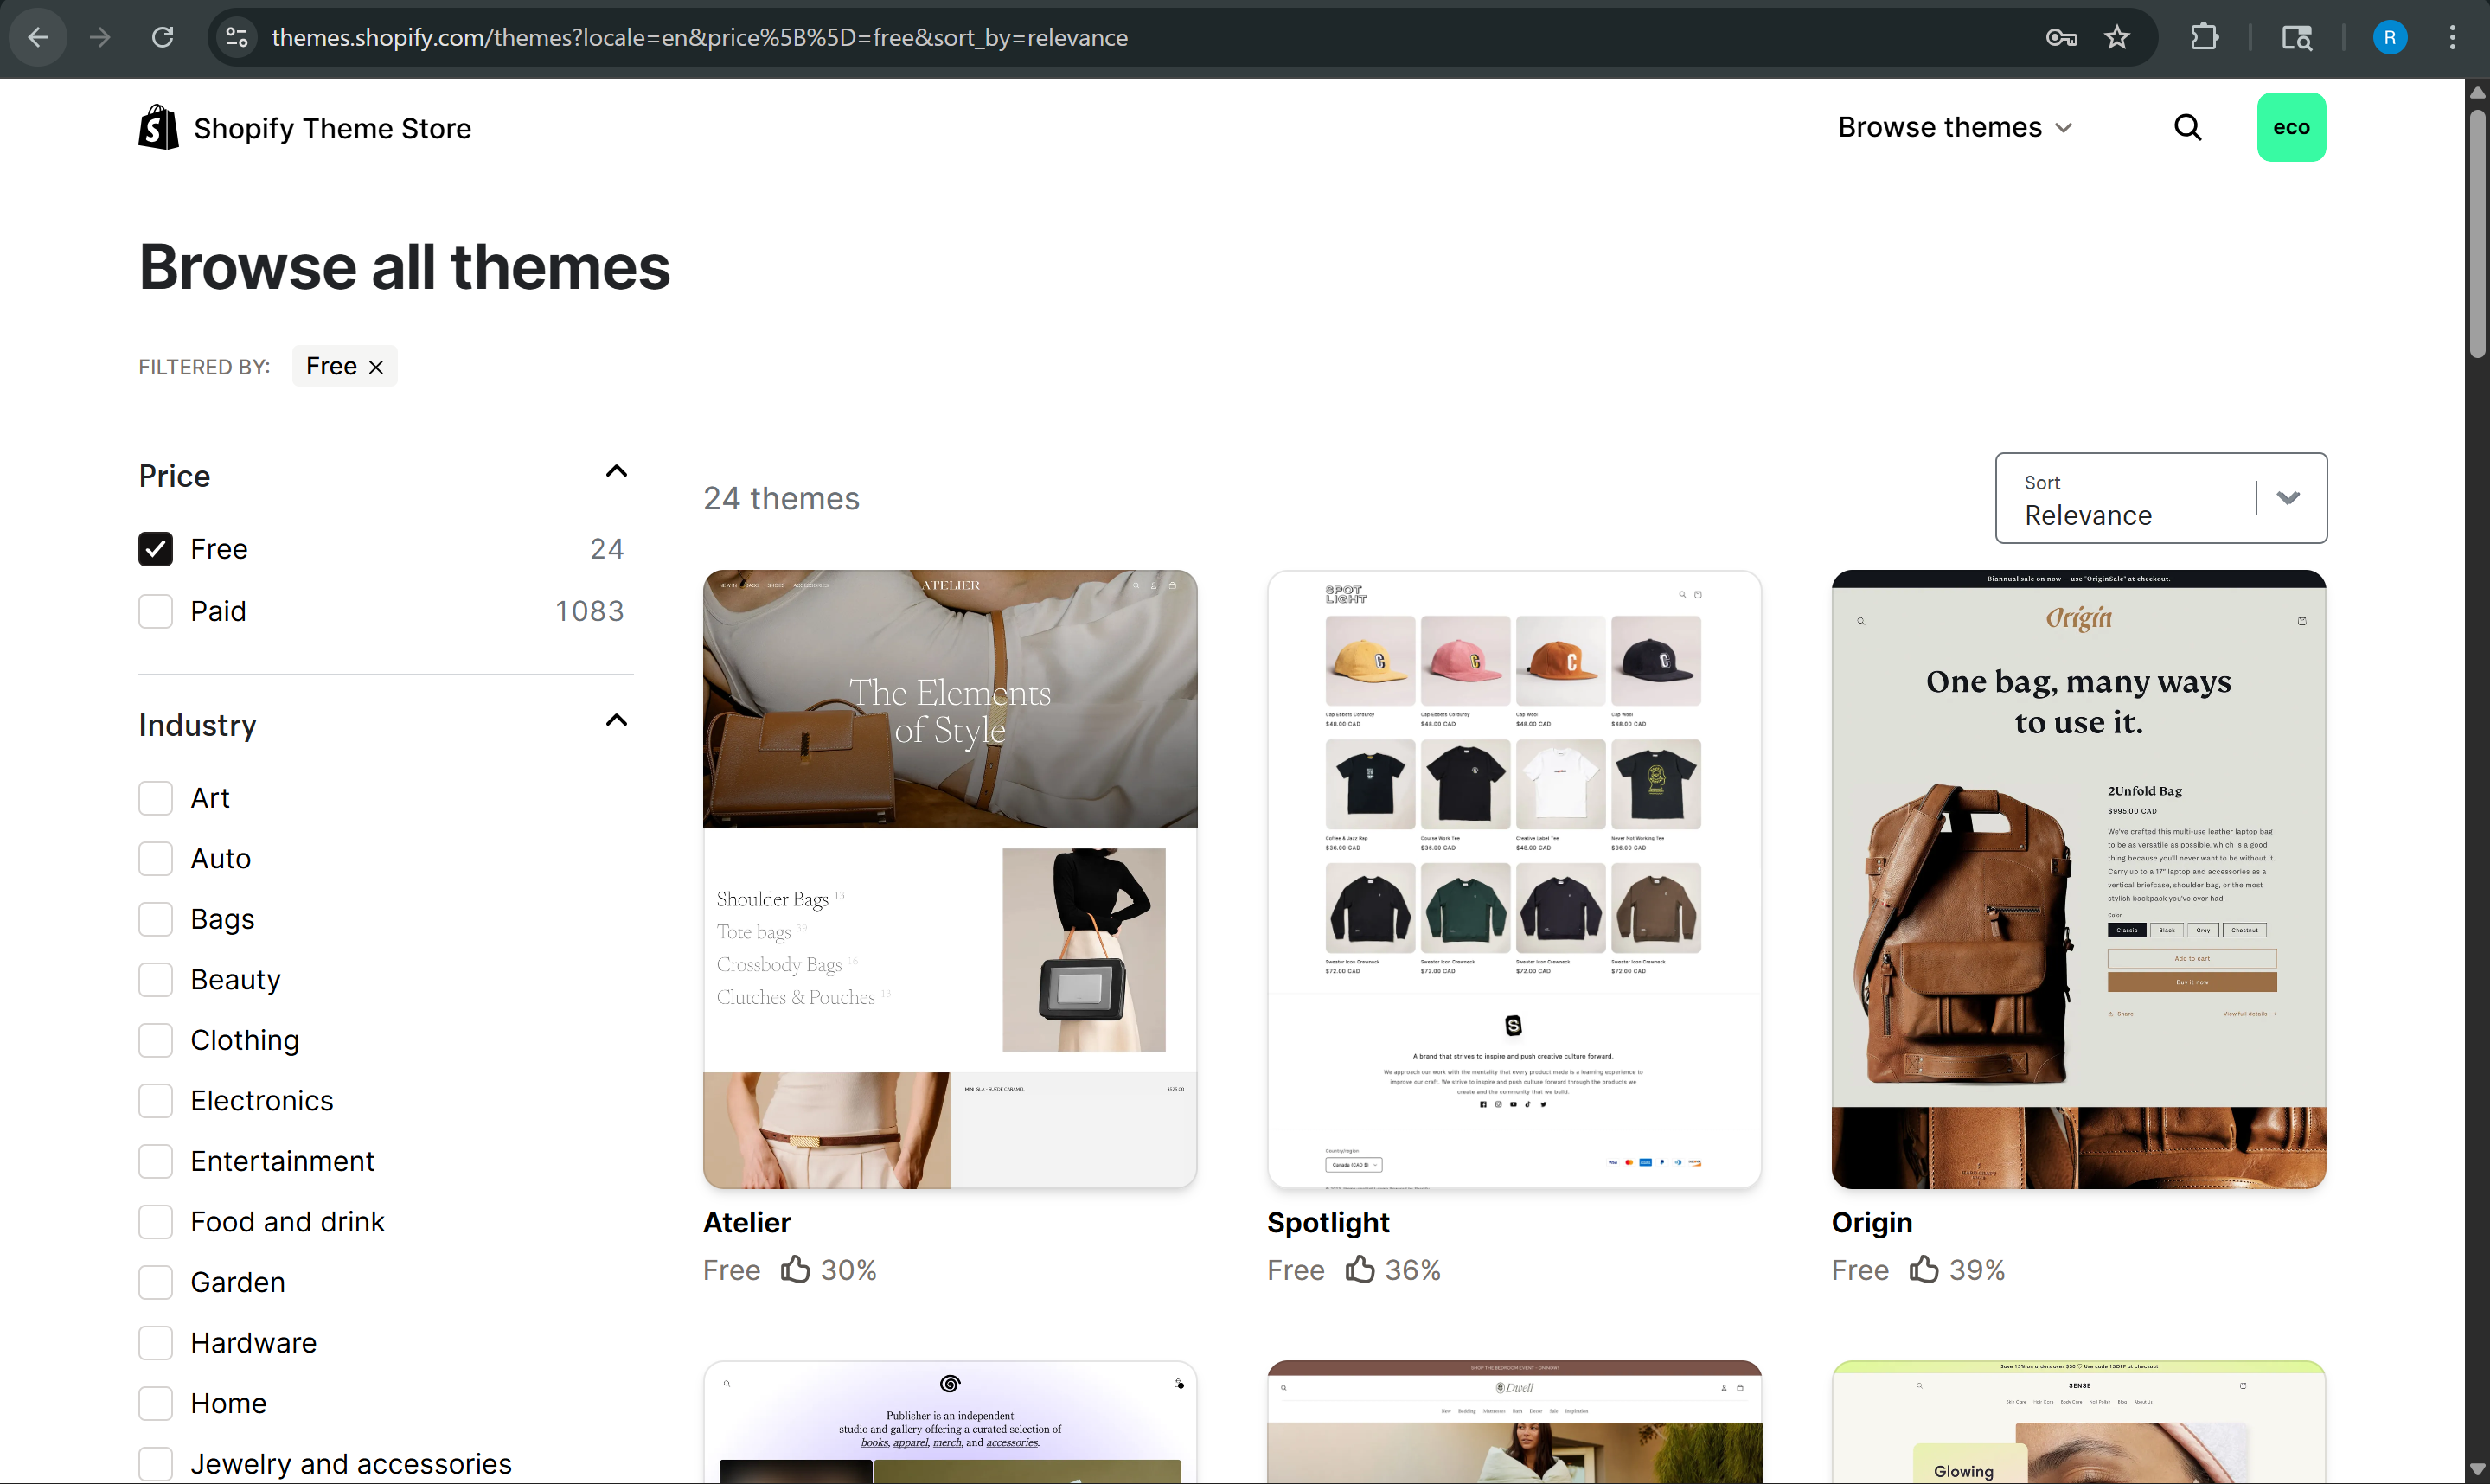
Theme Store filtered by "Free" — 24+ production-ready themes to choose from
Shopify Theme Store
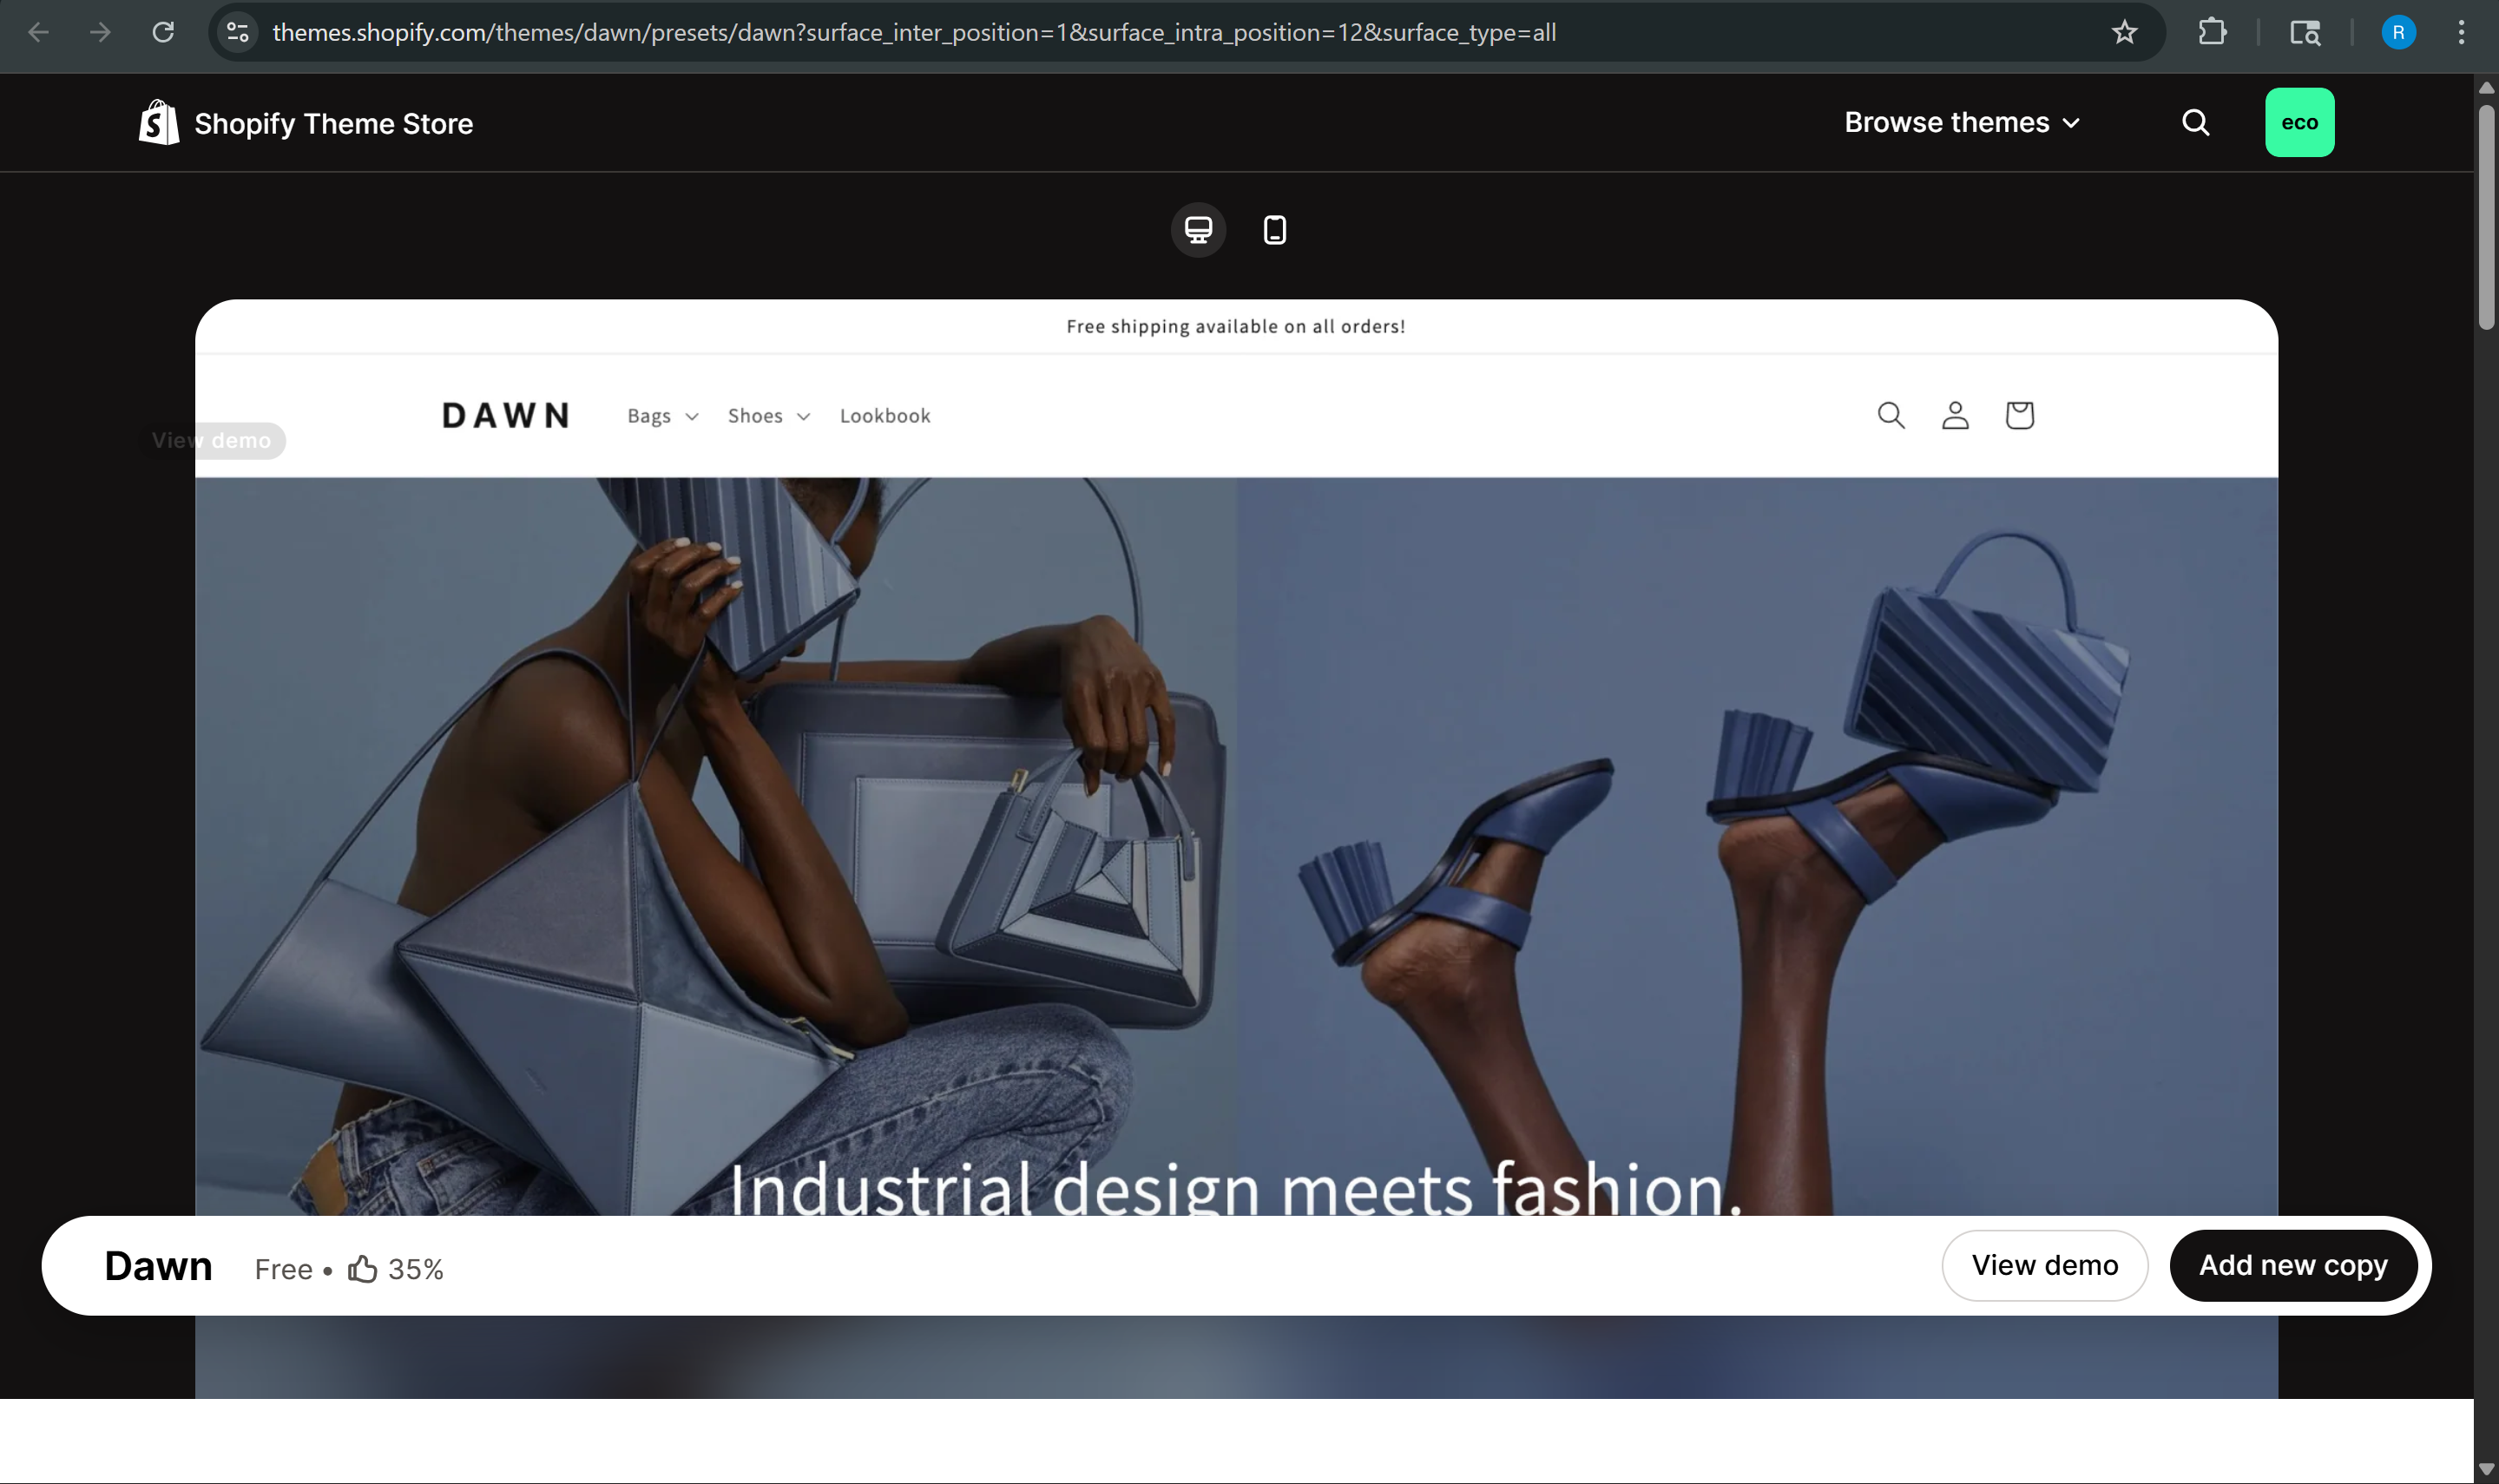
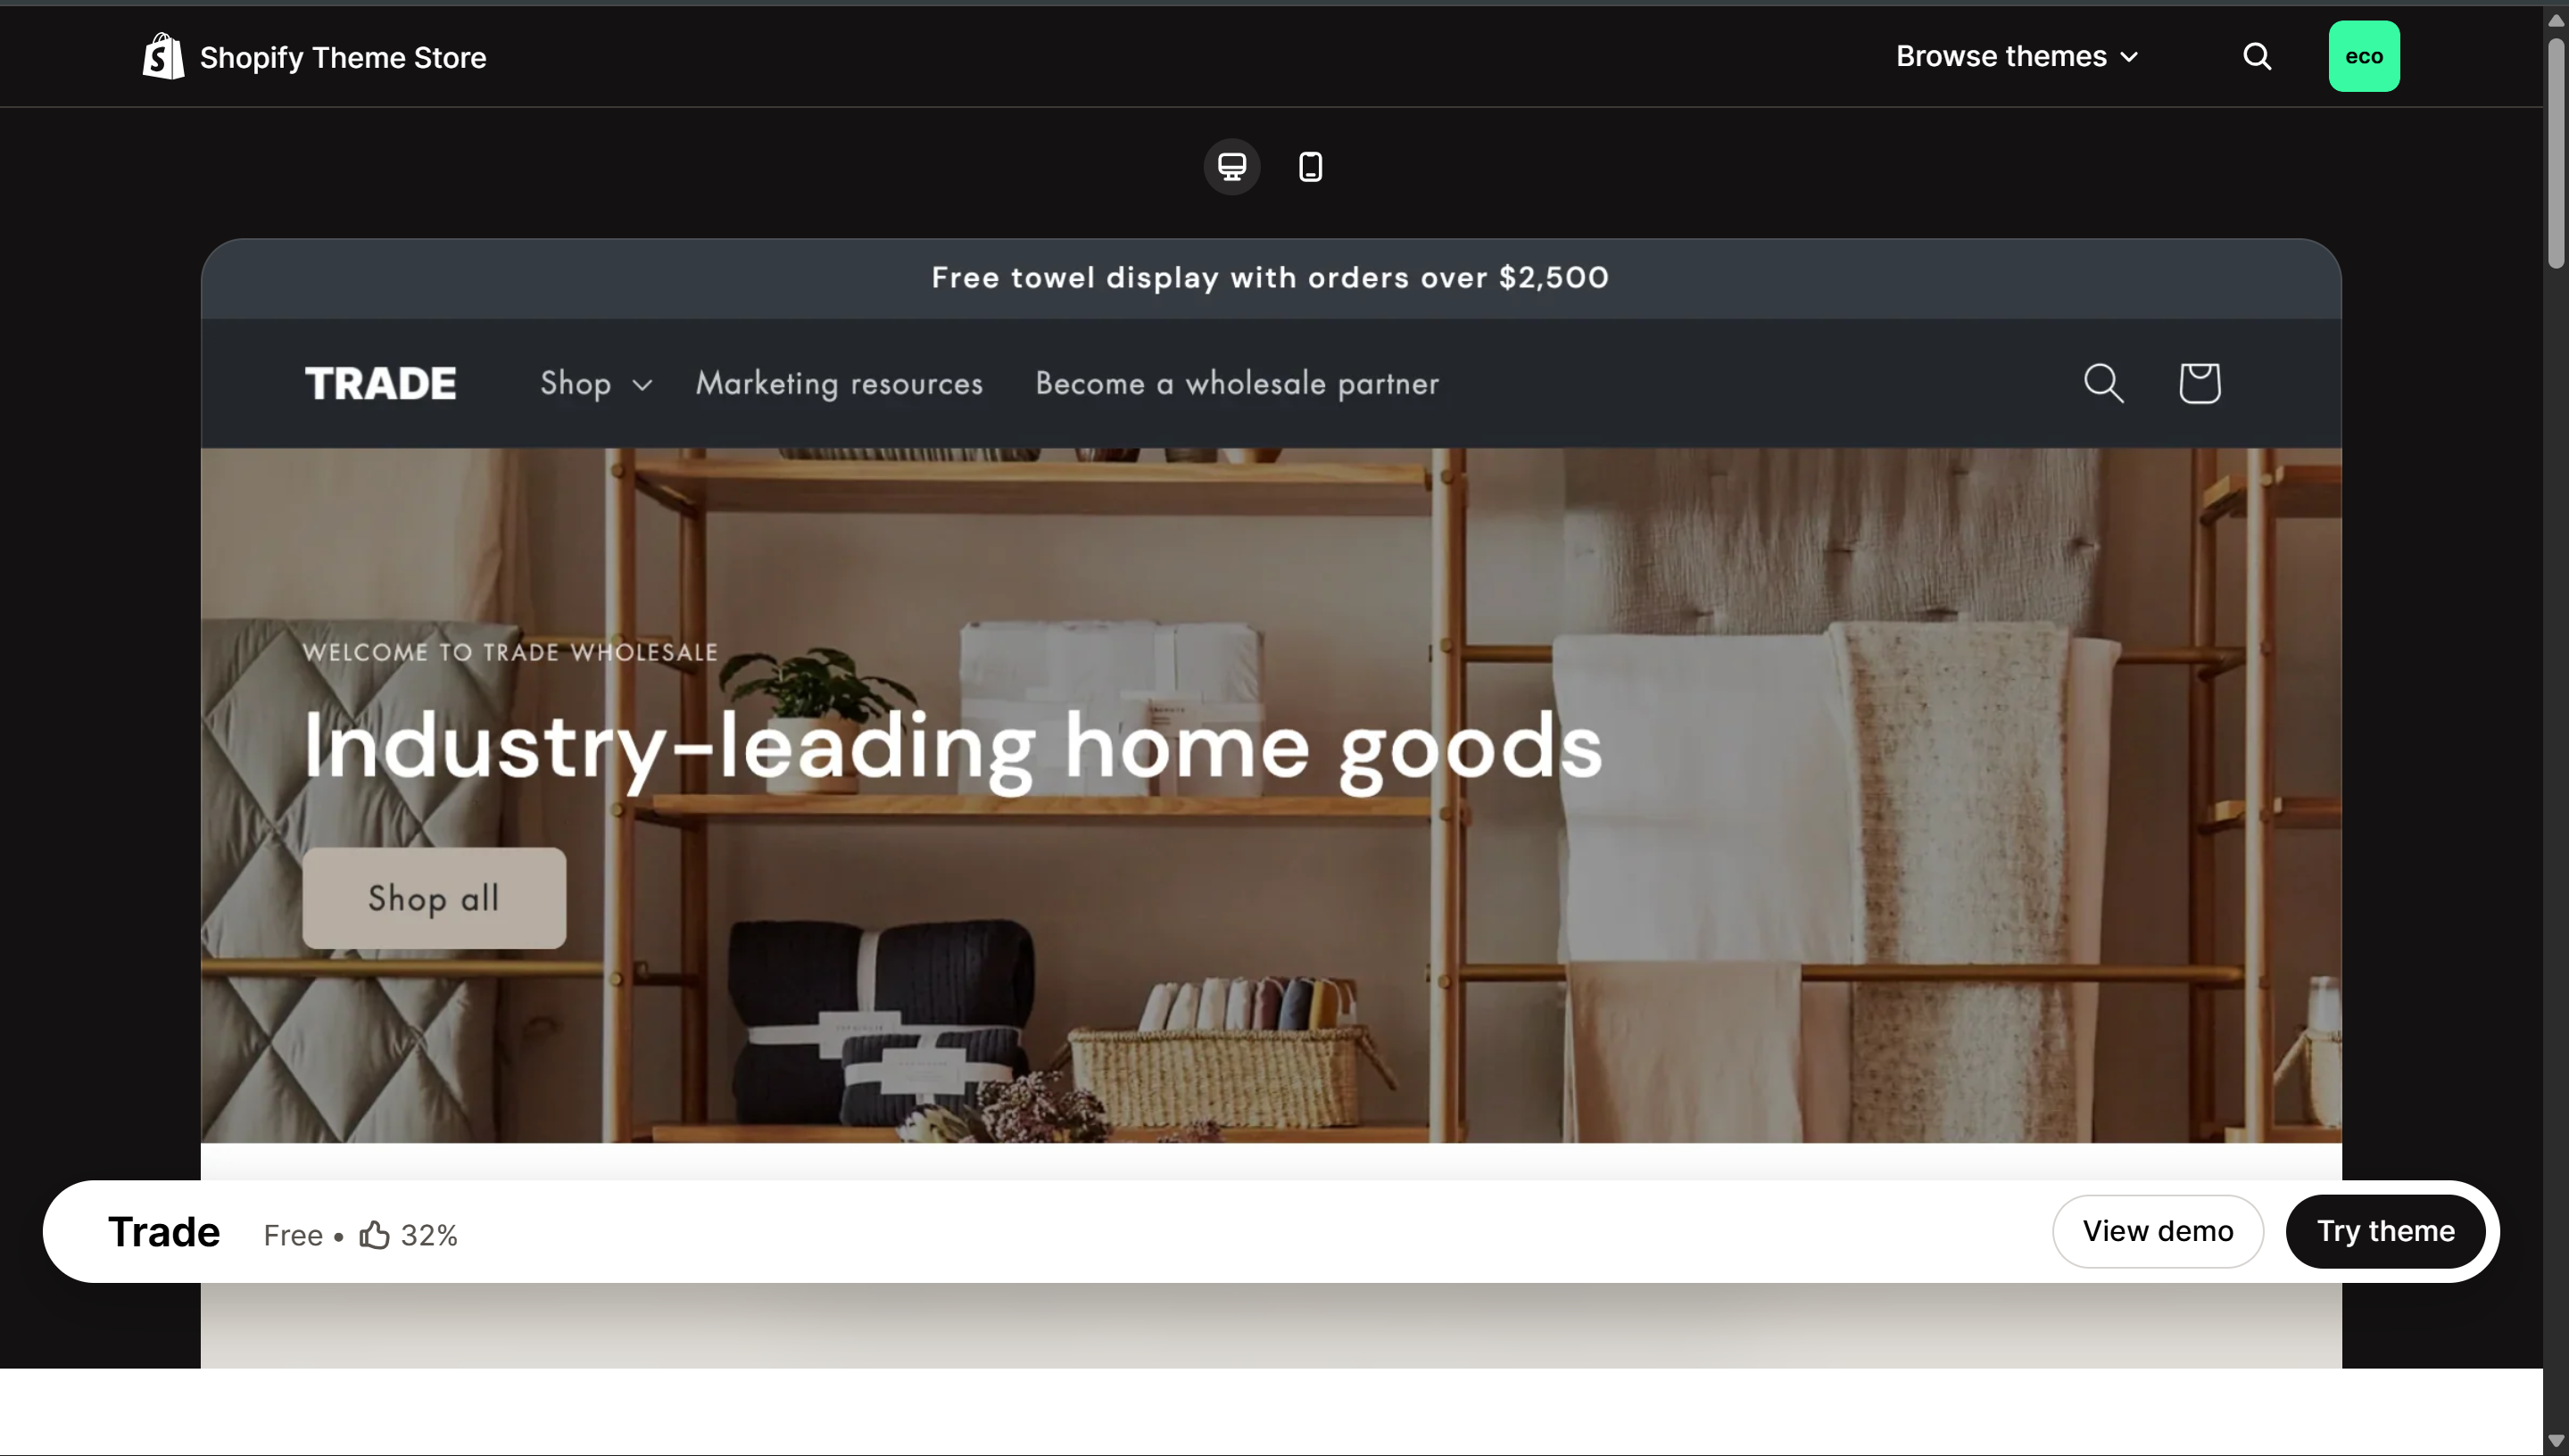
- When you preview a theme, you'll see one of two buttons:
- "Add new copy" — adds a fresh copy of that theme to your store as a draft
- "Try theme" — same thing, different wording. Both add the theme without publishing it.
- Neither button changes your live store. The theme sits as a draft until you hit Publish.
Don't overthink the theme choice. All free 2.0 themes work the same way under the hood. What matters is the sections, blocks, and settings you configure — not which theme you start with. You can always switch later.
2
The Theme Editor — Sections & Blocks
- Click "Customize" (or "Edit theme" on a draft) to open the Theme Editor
- The left sidebar shows your page structure — every element on the page, organized into sections
- The right side is a live preview — changes show instantly as you edit
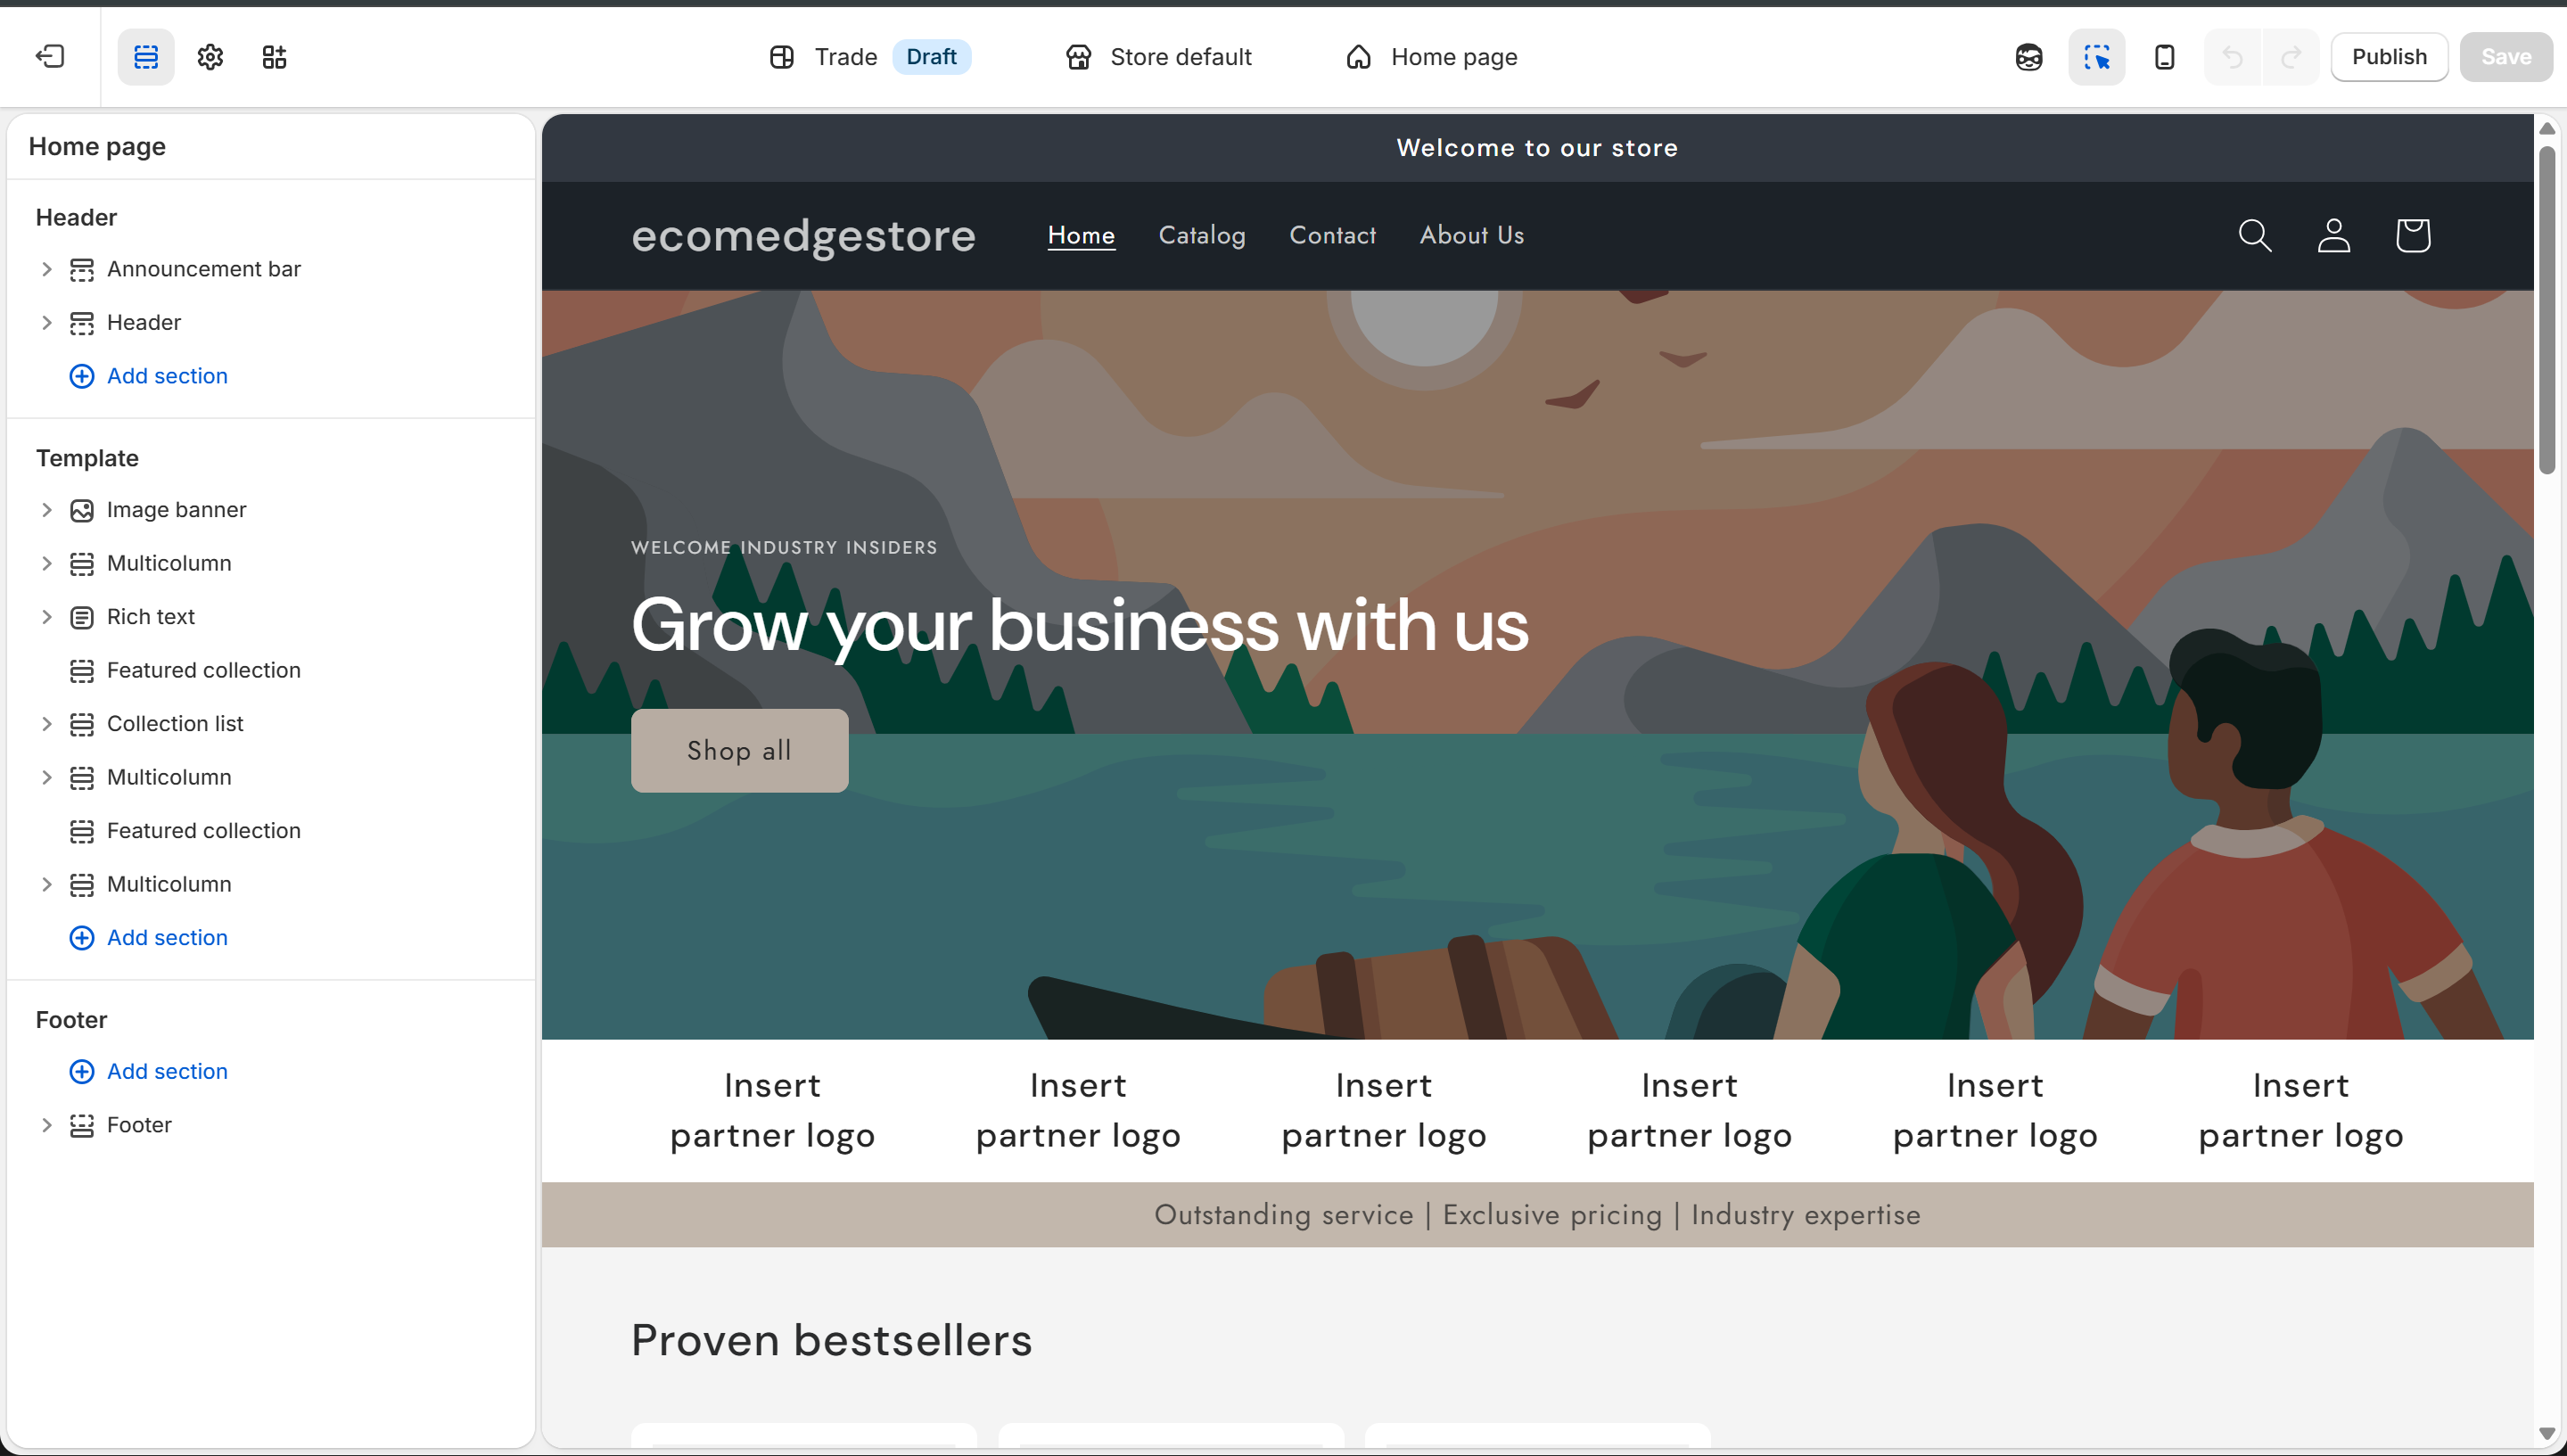
The Theme Editor — left sidebar shows sections (Image banner, Rich text, Featured collection, etc.)
Theme Editor
Section
A full-width building block of your page. Each section is a complete row — like an Image banner, a Featured collection, or a Rich text area. You stack sections vertically to build the page.
Block
A smaller element that lives INSIDE a section. For example, a Rich text section contains blocks like Heading, Text, and Buttons. You add, remove, and reorder blocks within a section.
Header
The top bar on every page — your logo, navigation menu, announcement bar. It's a section that appears on ALL pages automatically.
Footer
The bottom bar on every page — links, social media, payment icons. Like the header, it shows on every page.
- To add a new section, click "Add section" at the bottom of the sidebar. You'll see all available sections — and an AI option to generate one.
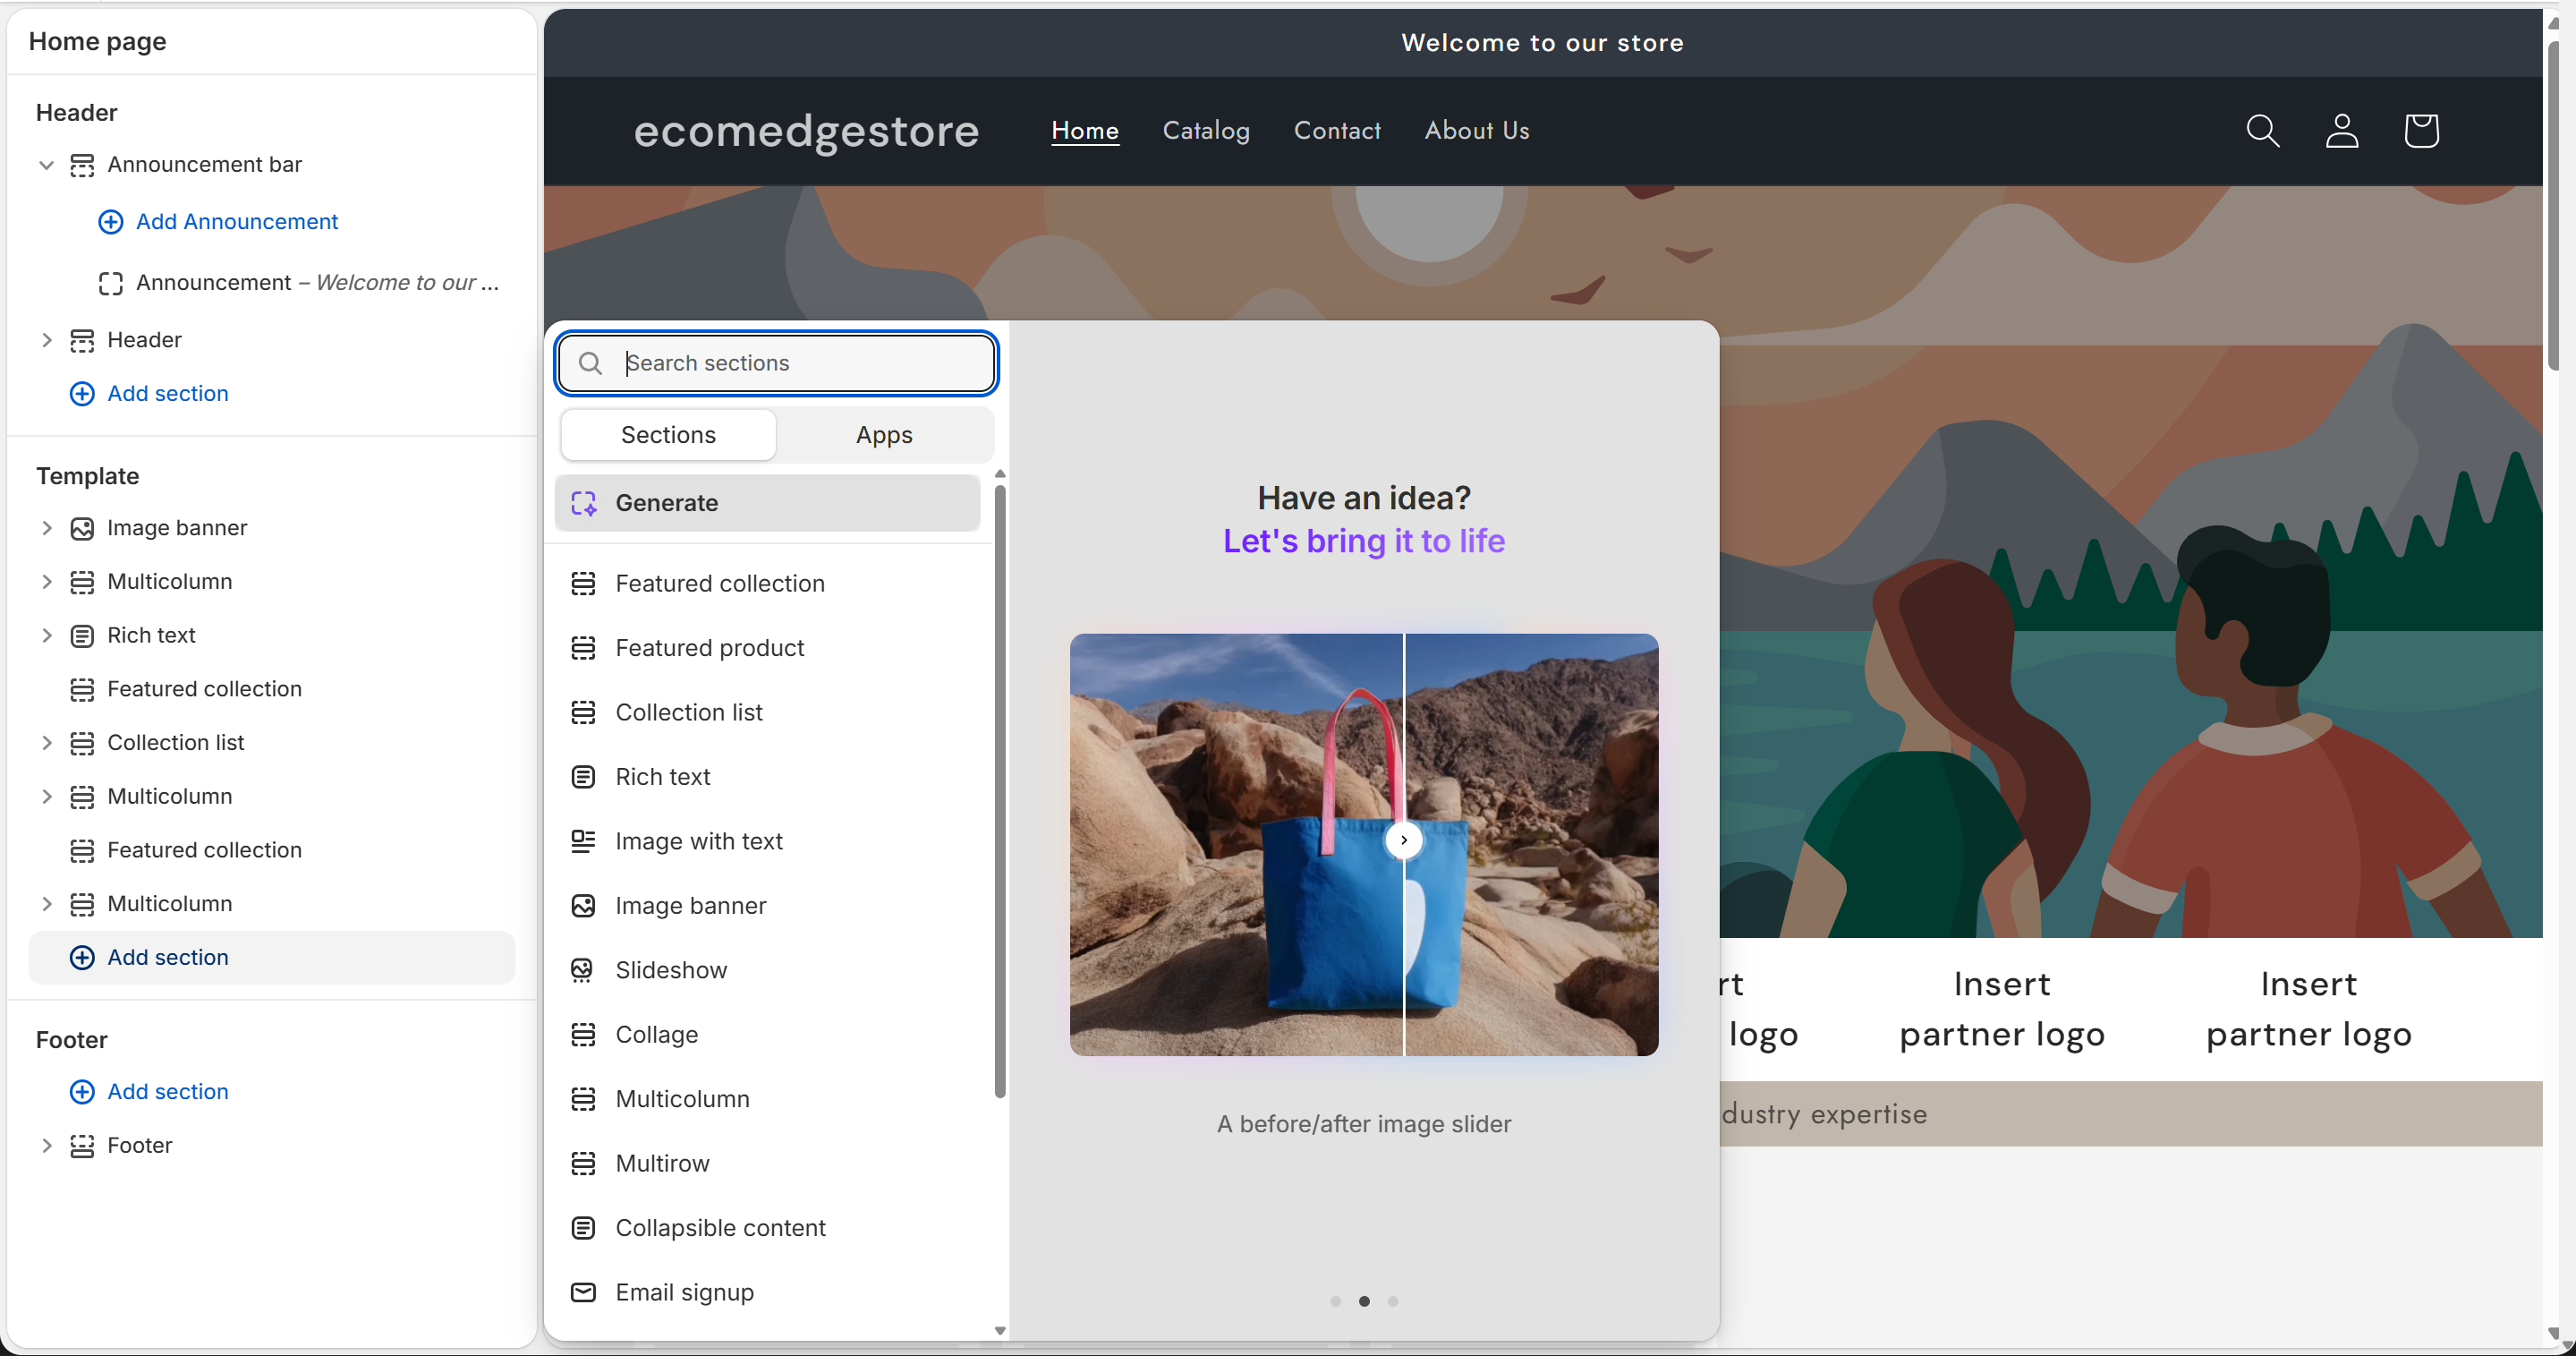
"Add section" — pick from the list or use AI to generate one
Theme Editor
- To add a block inside a section, click on any section → click "Add block." You'll see the block types available for that section.
- Different sections offer different block types. A Rich text section gives you Heading, Caption, Text, Buttons. A Featured collection gives you product-related blocks.
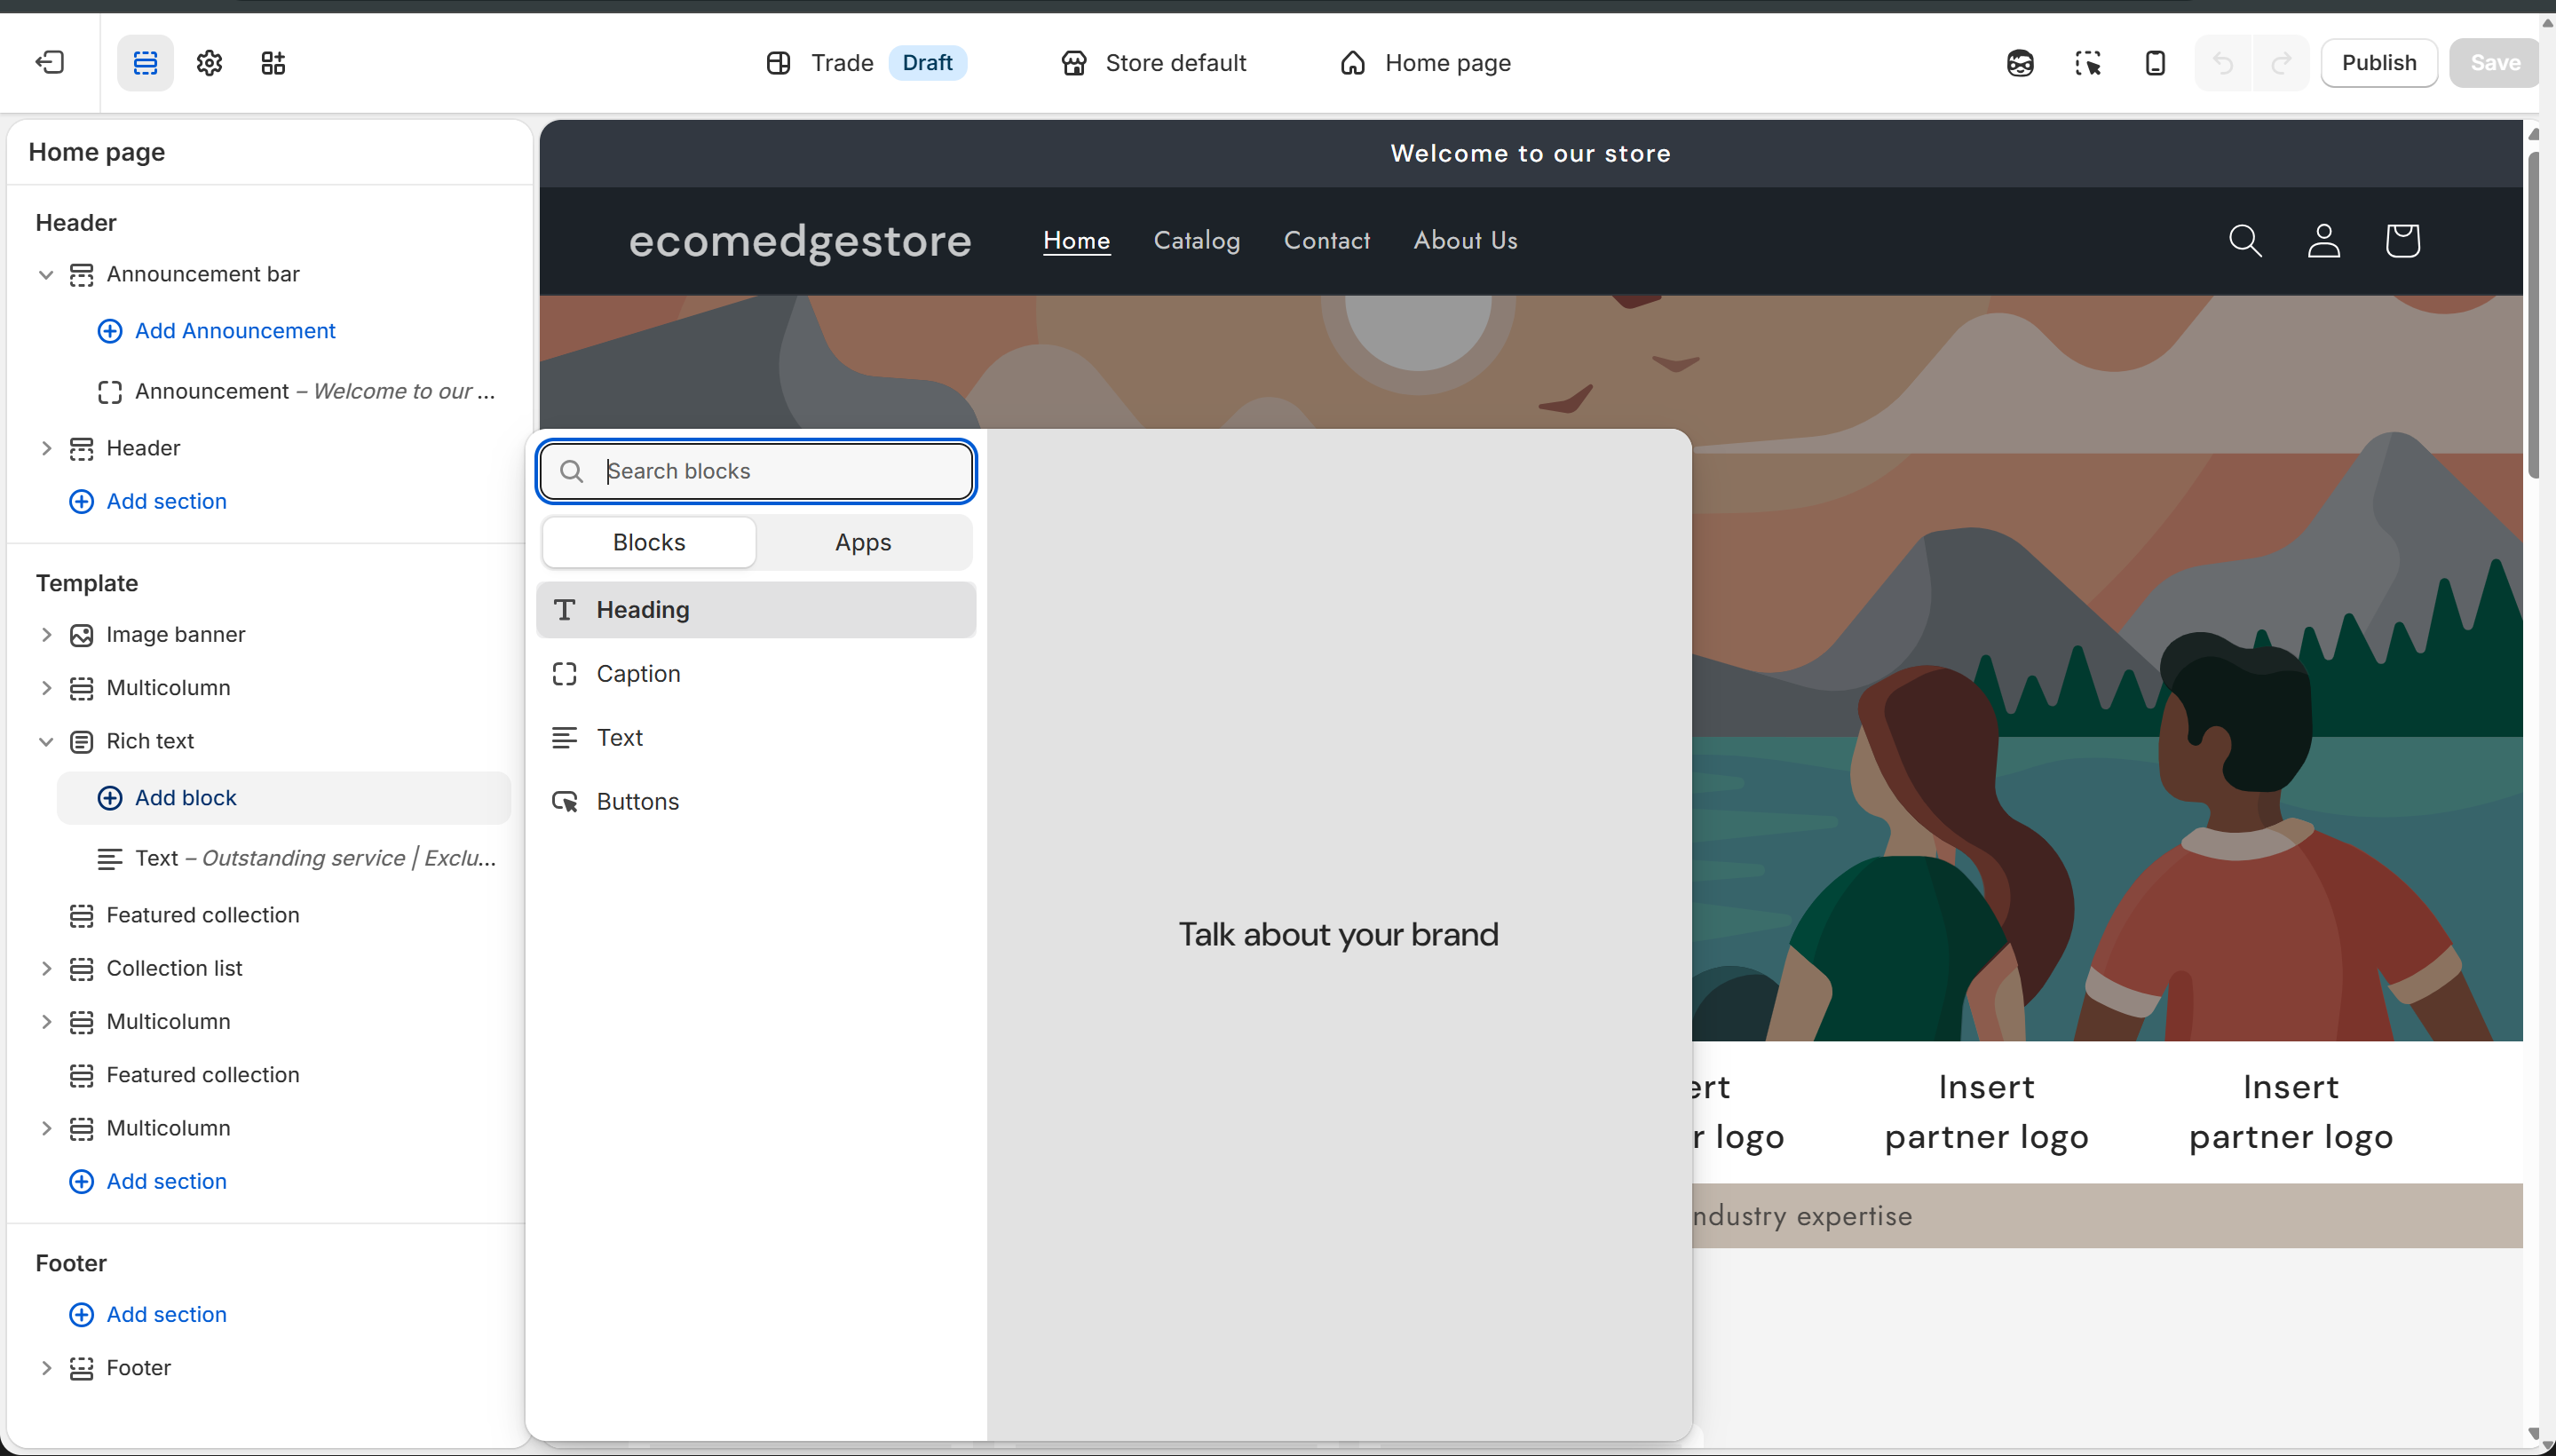
Blocks inside a Rich text section — Heading, Caption, Text, Buttons. Each is a block you can add/remove.
Theme Editor
3
Theme Settings
- Click the gear icon at the top of the left sidebar to open Theme Settings
- These are global settings — they affect your entire store, not just one page
- Set up Colors and Typography first — everything else builds on these two
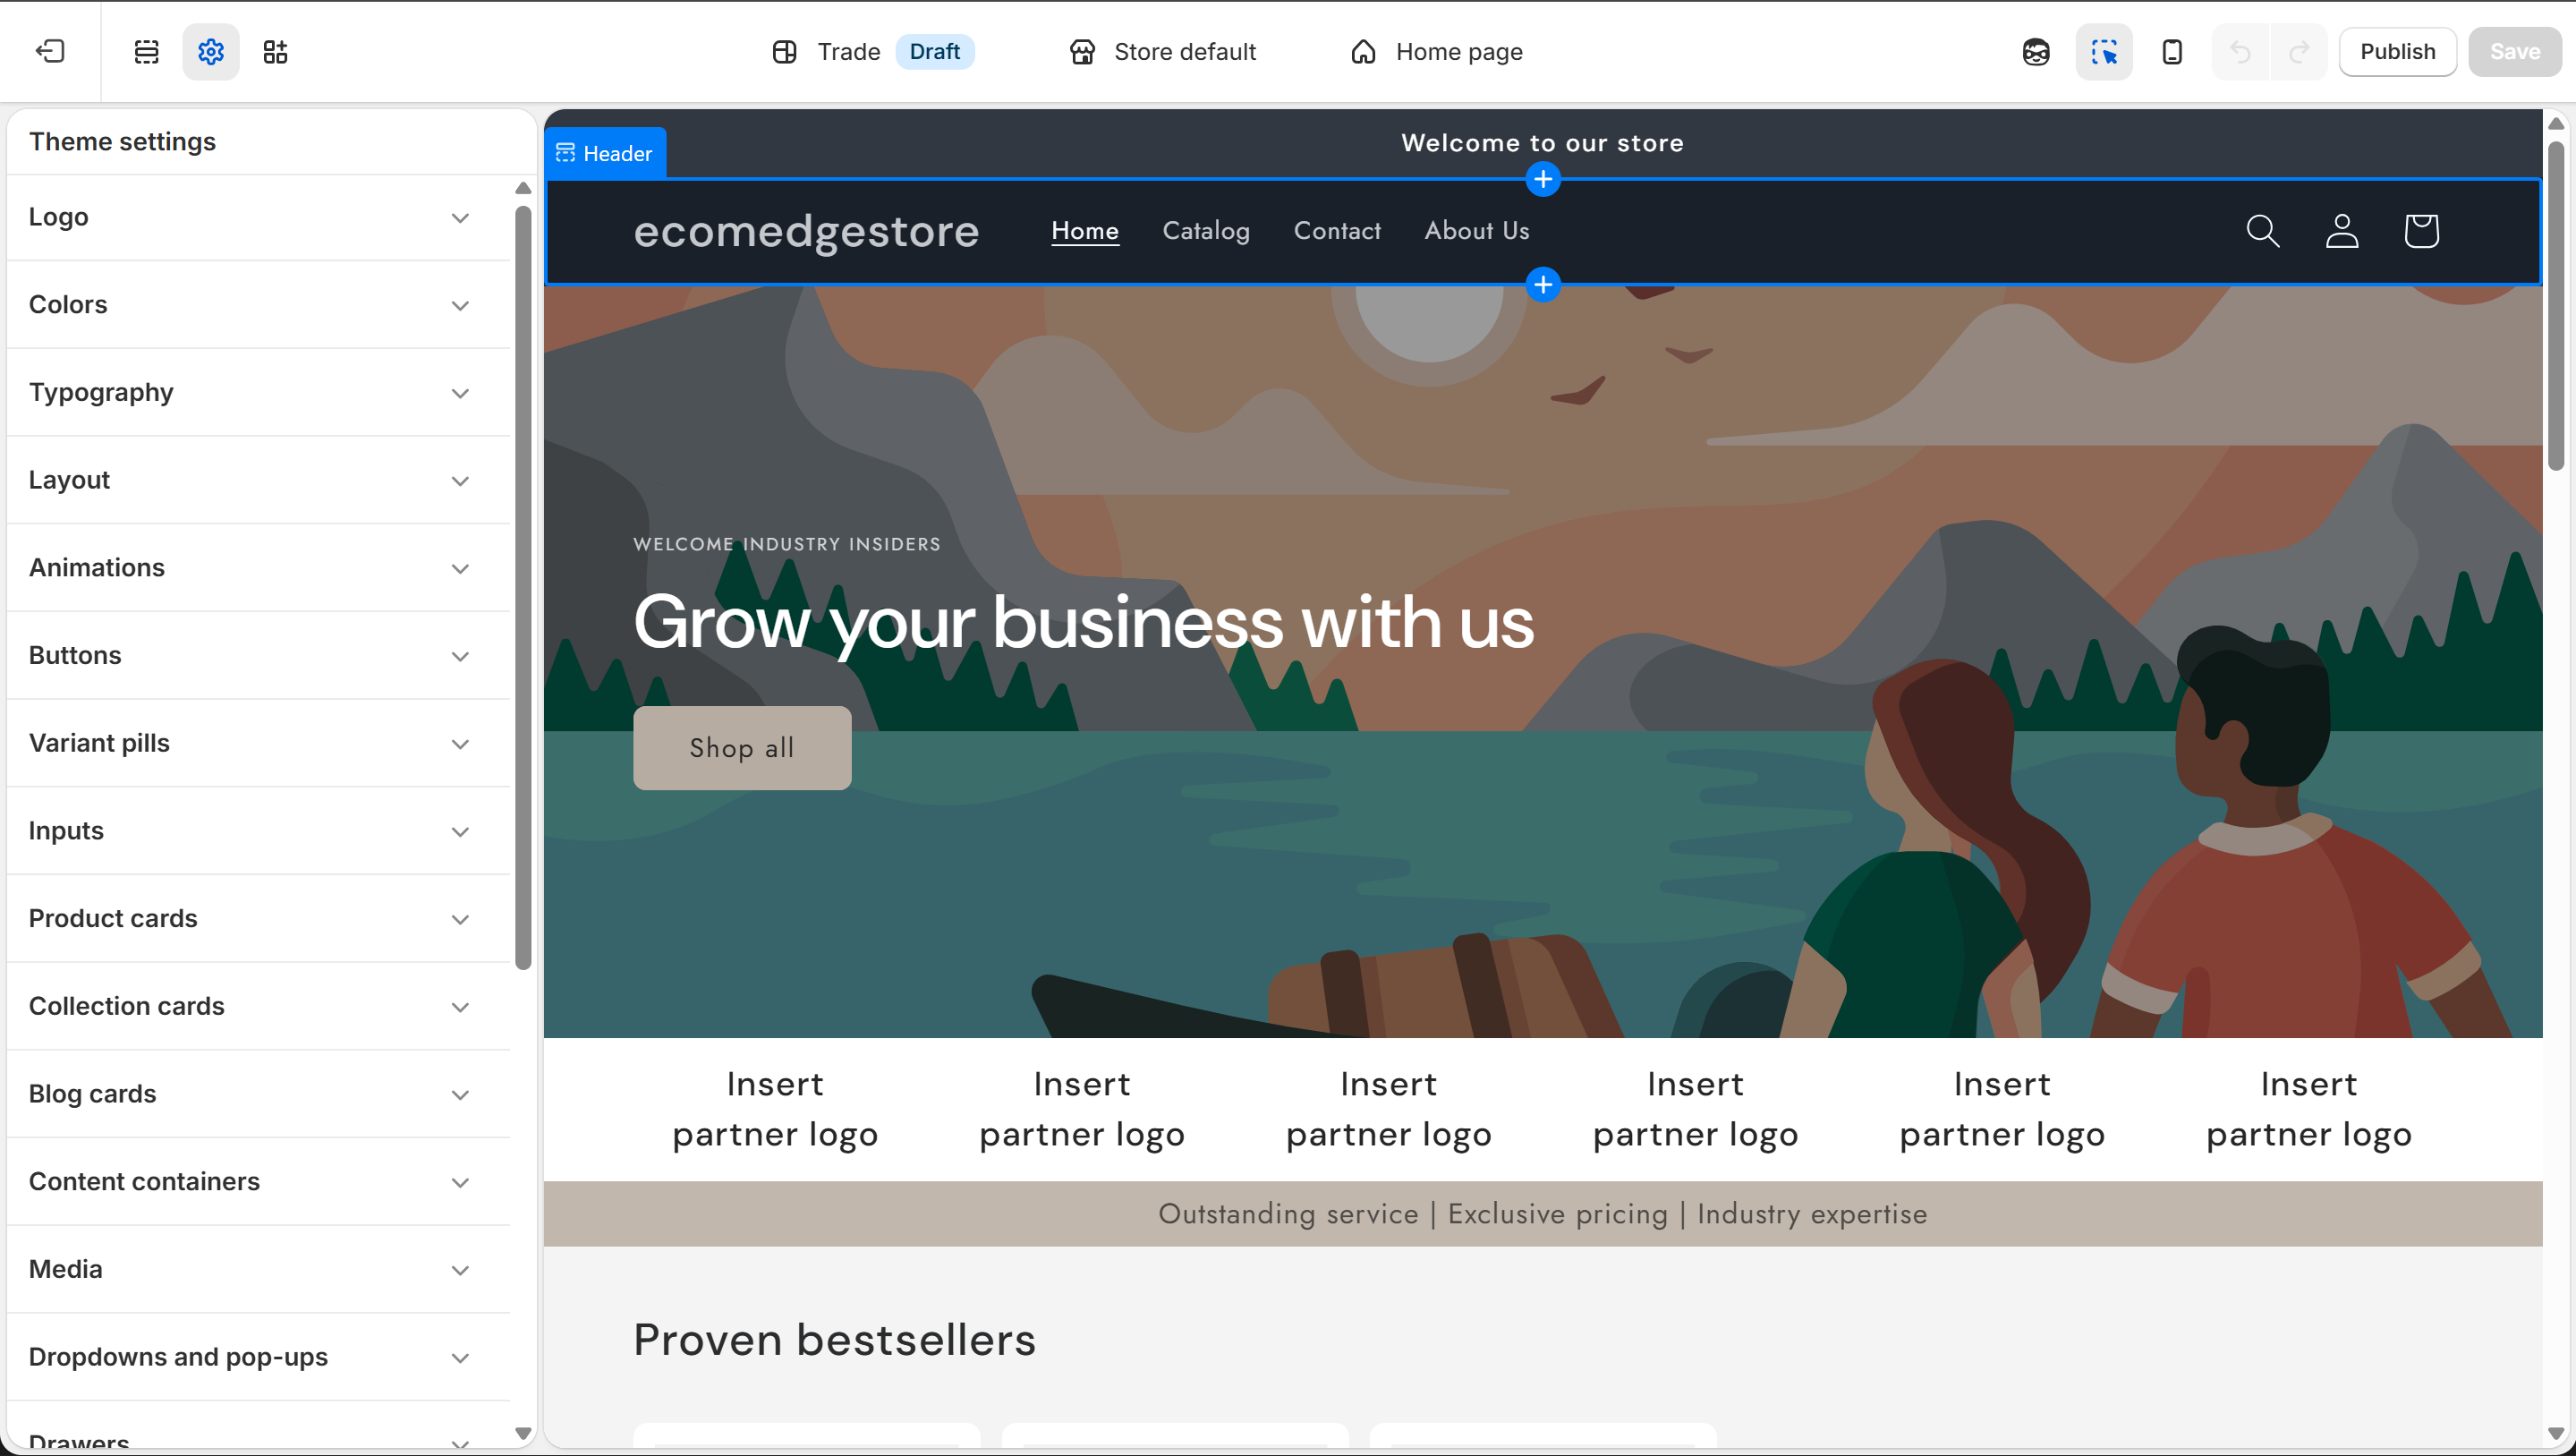
Theme Settings — global styles that apply to your entire store
Theme Editor
Colors
Your store's color palette. Set your primary, secondary, and background colors here. Every section and button inherits from these.
Typography
Your fonts. Pick a heading font and a body font. Keep it to 2 fonts max — more than that looks messy.
Layout
Page width, spacing, and grid settings. Controls how much breathing room your content has.
Buttons
Border radius, colors, hover effects for all buttons across your store. Set once, applies everywhere.
Colors and Typography are the foundation. Set these first, then move on to building pages. If you change colors later, every section updates automatically — that's the power of global settings.
4
Pages, Templates & App Embeds
- At the top center of the Theme Editor, you'll see a dropdown showing which page you're editing
- Click it to see every page type your store has — Home, Products, Collections, Cart, Checkout, Blog, and more
- Each page type can have multiple templates — for example, different product page layouts for different product types
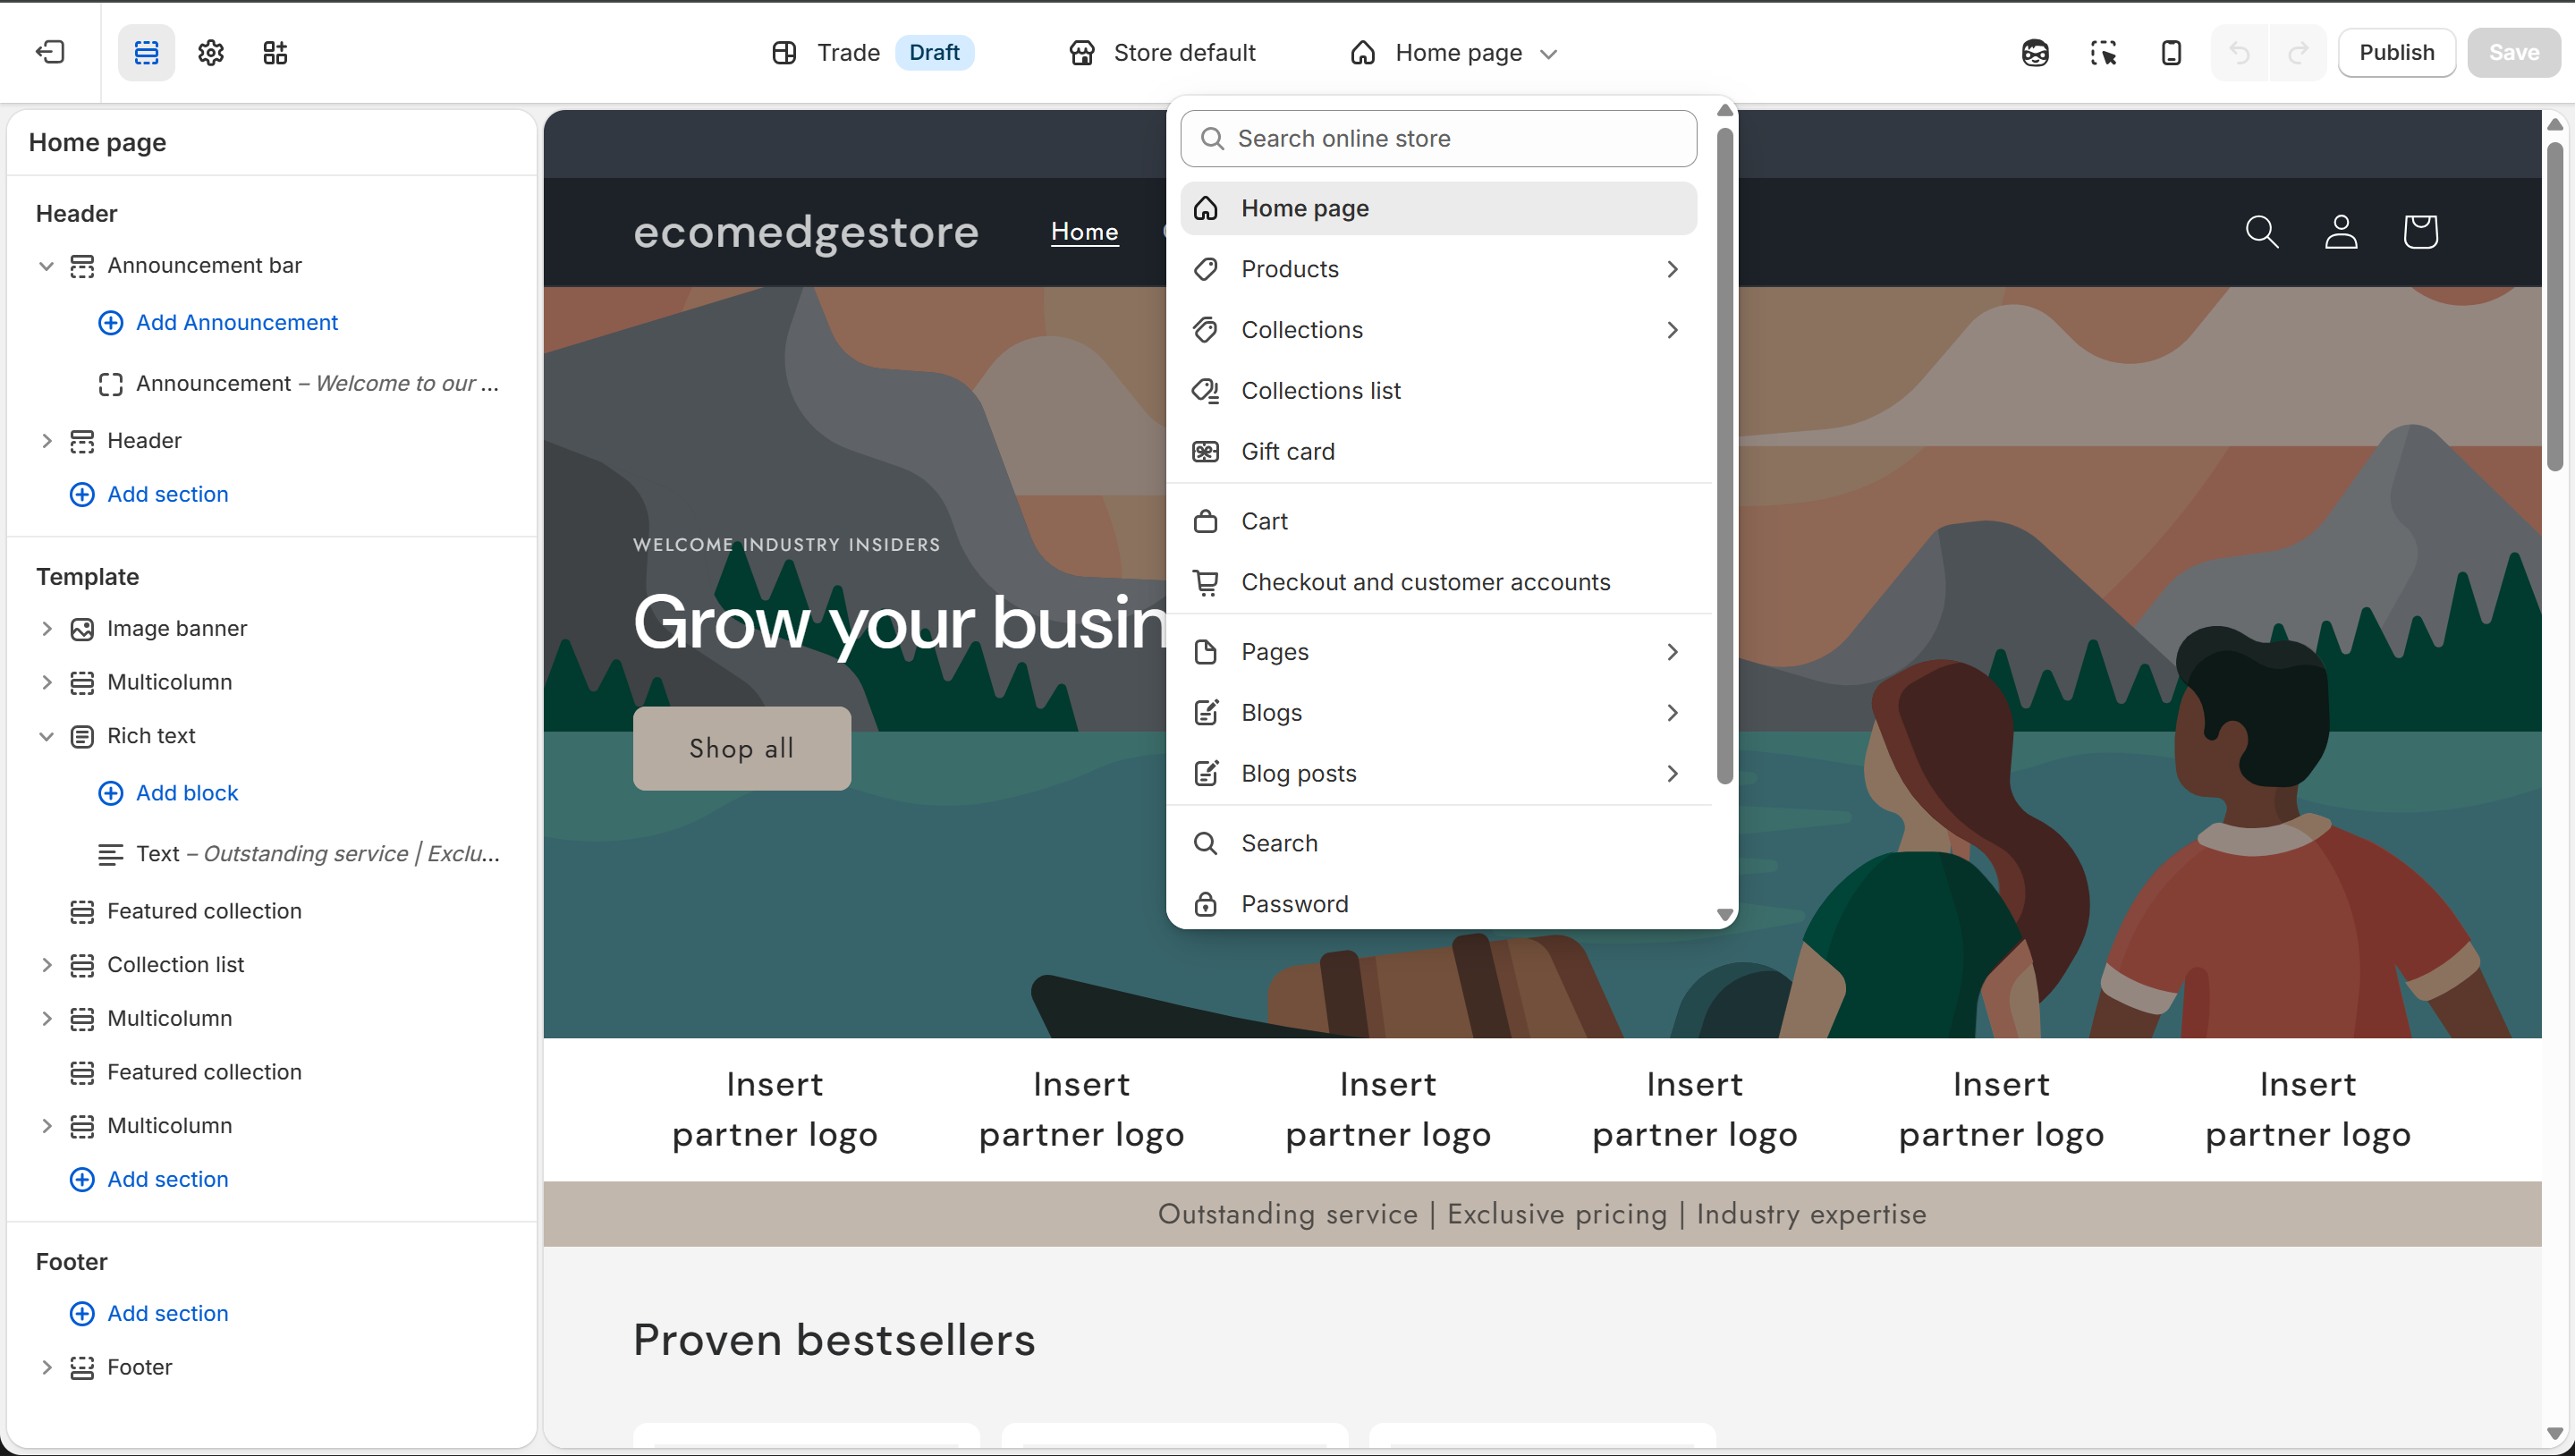
Page dropdown — switch between Home, Products, Collections, Cart, and every other page type
Theme Editor
Template
A reusable layout for a page type. Your default product template applies to all products, but you can create additional templates with different section arrangements and assign them to specific products.
App Embeds
Third-party apps that plug into your theme — review widgets, COD forms, chat widgets. Toggle them on/off without touching code.
- To manage apps, click the puzzle piece icon in the left sidebar to see App Embeds
- Each app has a toggle switch — turn it on to show it on your store, off to hide it
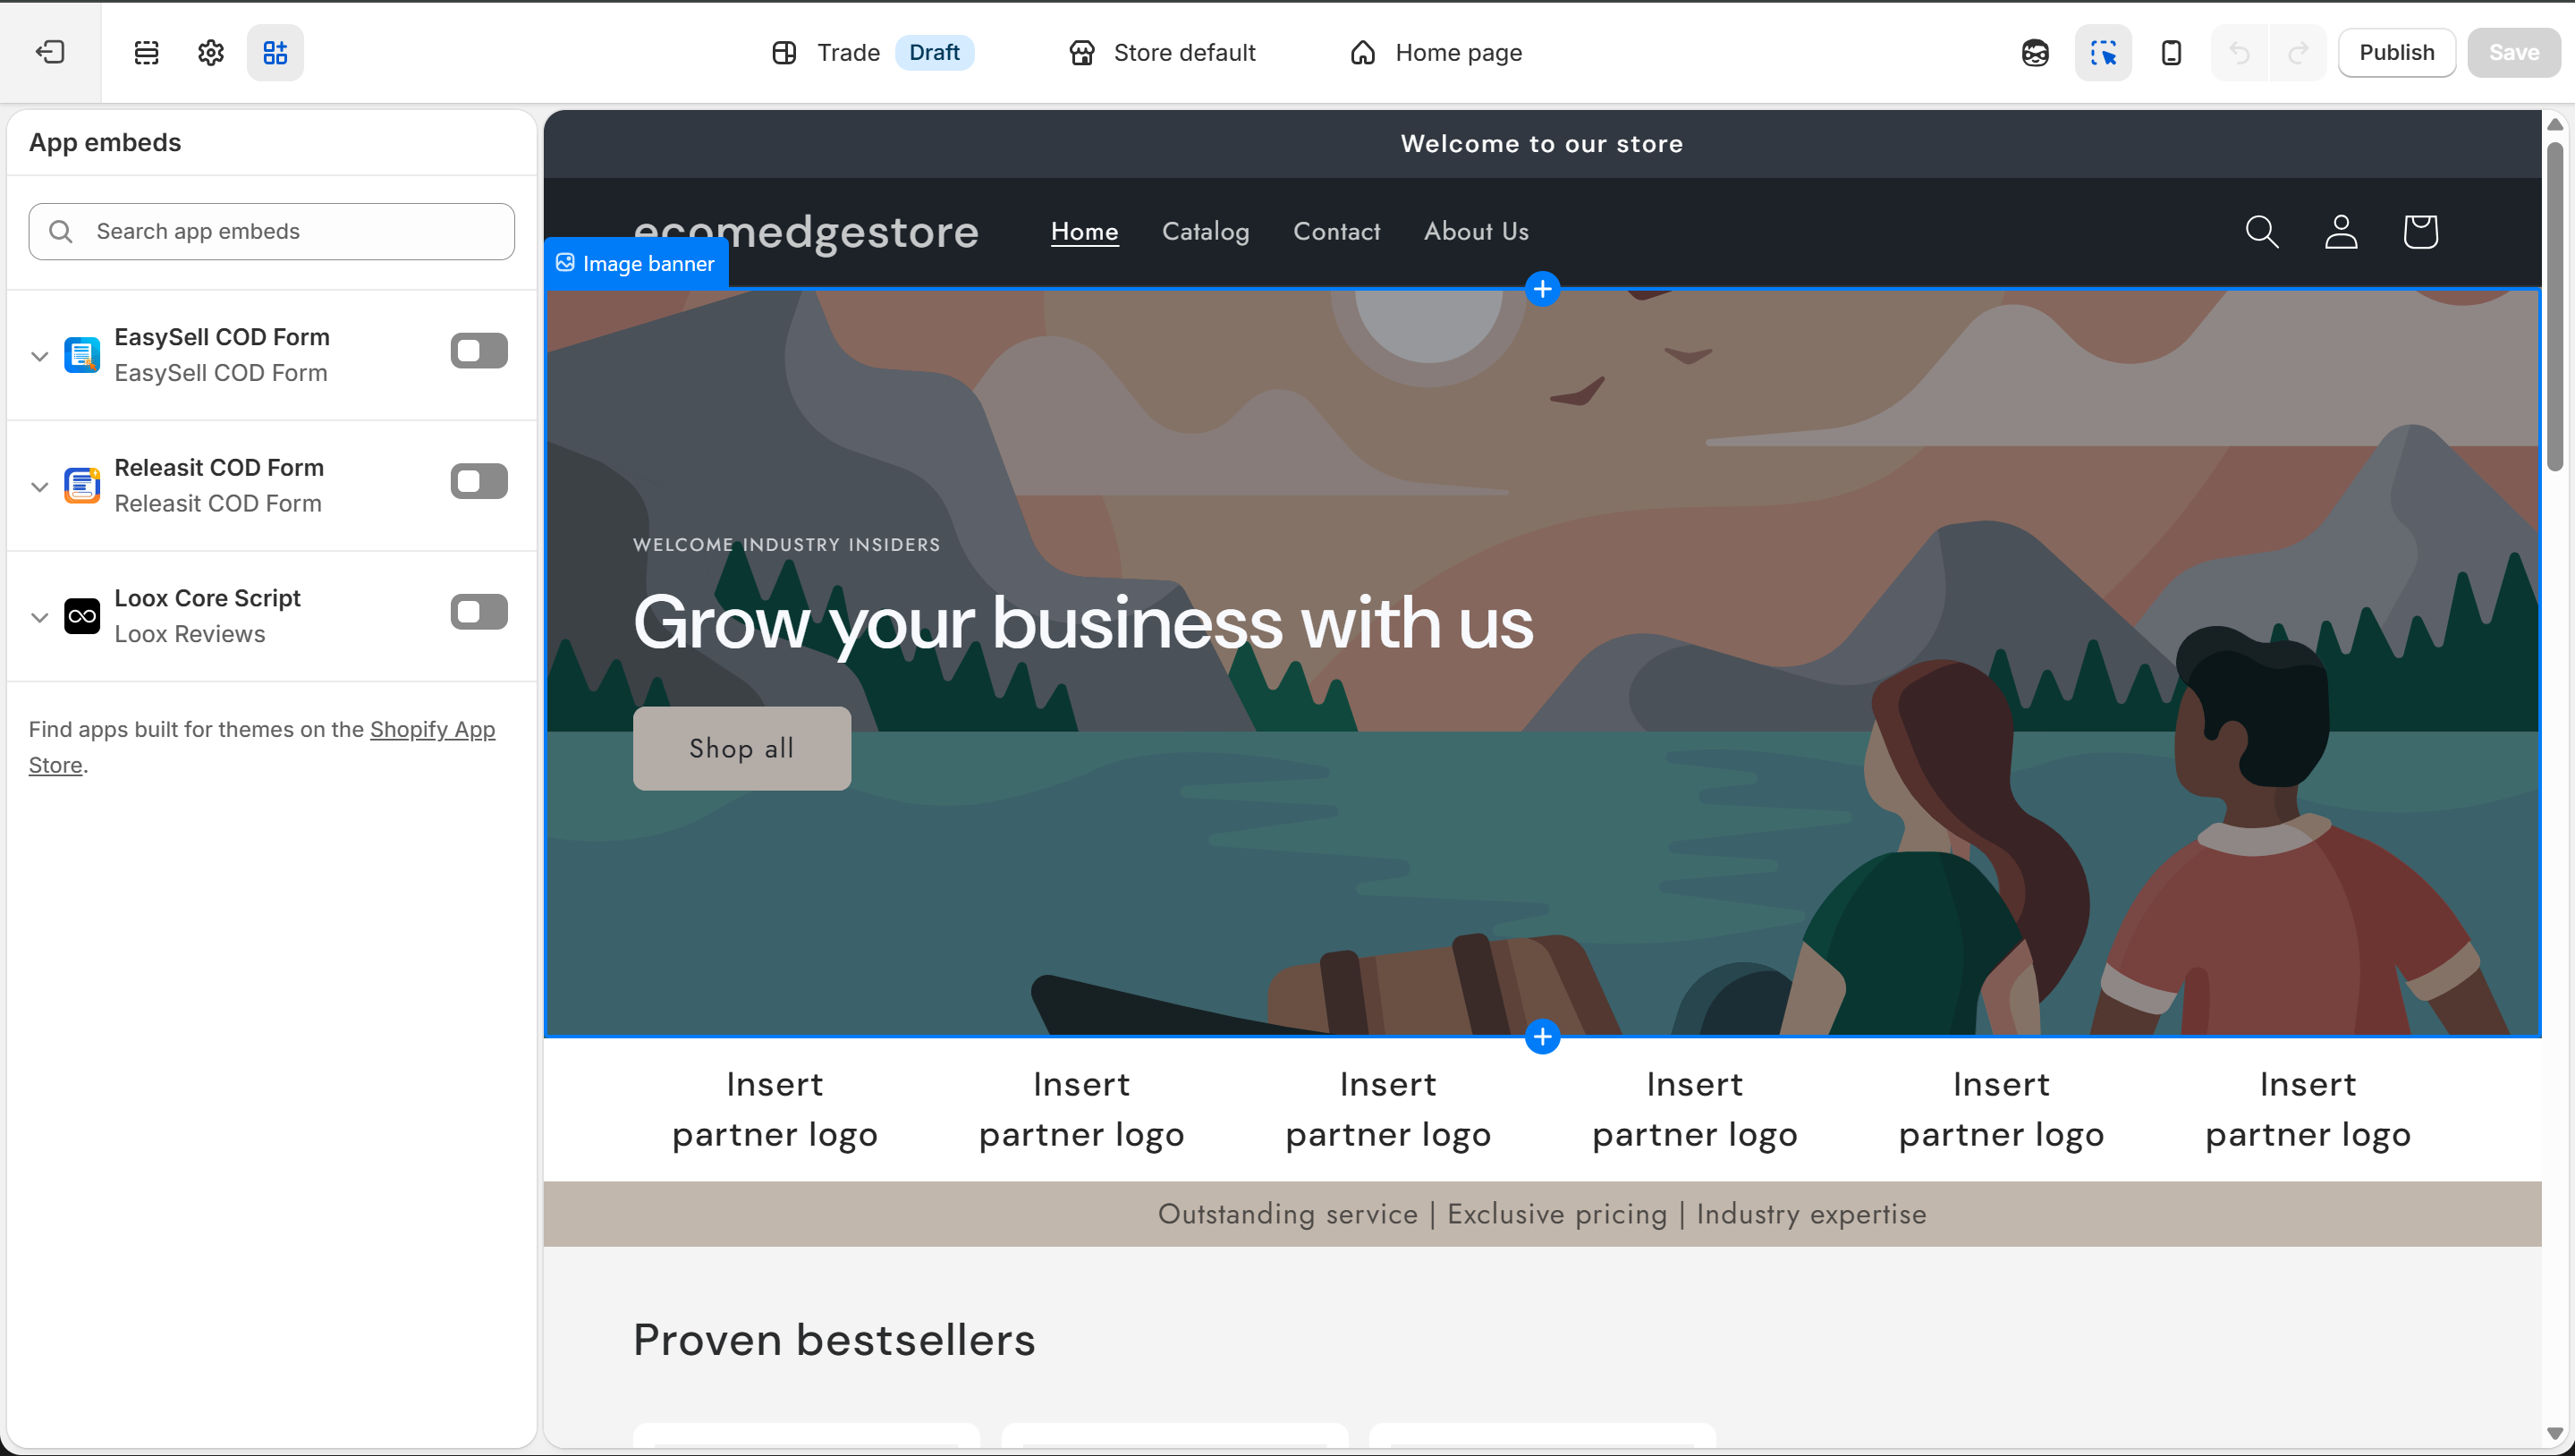
App Embeds — toggle third-party apps on or off. No code needed.
Theme Editor
5
How It All Connects
- This is the most important concept in the Theme Editor — everything is connected
- If you add a Featured Collection section to your homepage but don't link it to an actual collection → nothing shows up
- If you create a product but don't assign it to a collection that's linked in the theme → customers can't find it
- Think of it as a circuit: Product → Collection → Theme Section → Page. Break any link and the circuit is open.
The Catalog collection
Shopify has a default "Catalog" collection that includes ALL products. If a Featured Collection section doesn't specify which collection to show, link it to Catalog — otherwise it displays nothing.
Templates control layout
The default product template applies to all products. But you can create custom templates for specific products — different sections, different blocks, different look. We'll build these in the Product Pages guide.
The #1 mistake beginners make
Adding sections to the homepage but not linking them to actual data. A "Featured collection" section with no collection linked shows a blank space. A "Collection list" with no collections selected shows nothing. Always check: is this section connected to real content?
Don't build yet. This guide teaches you what everything means. The actual building — product pages, homepage design, header setup — comes in the next guides. For now, play around: click sections, open blocks, explore settings. Get comfortable with the editor.
Shopify Sidekick — Your Built-in Helper
- Inside the Theme Editor, look for the chat icon — that's Sidekick, Shopify's AI assistant
- Ask it anything: "How do I replace the hero image?" or "Change my header color"
- It gives step-by-step instructions and can even make changes directly in the editor
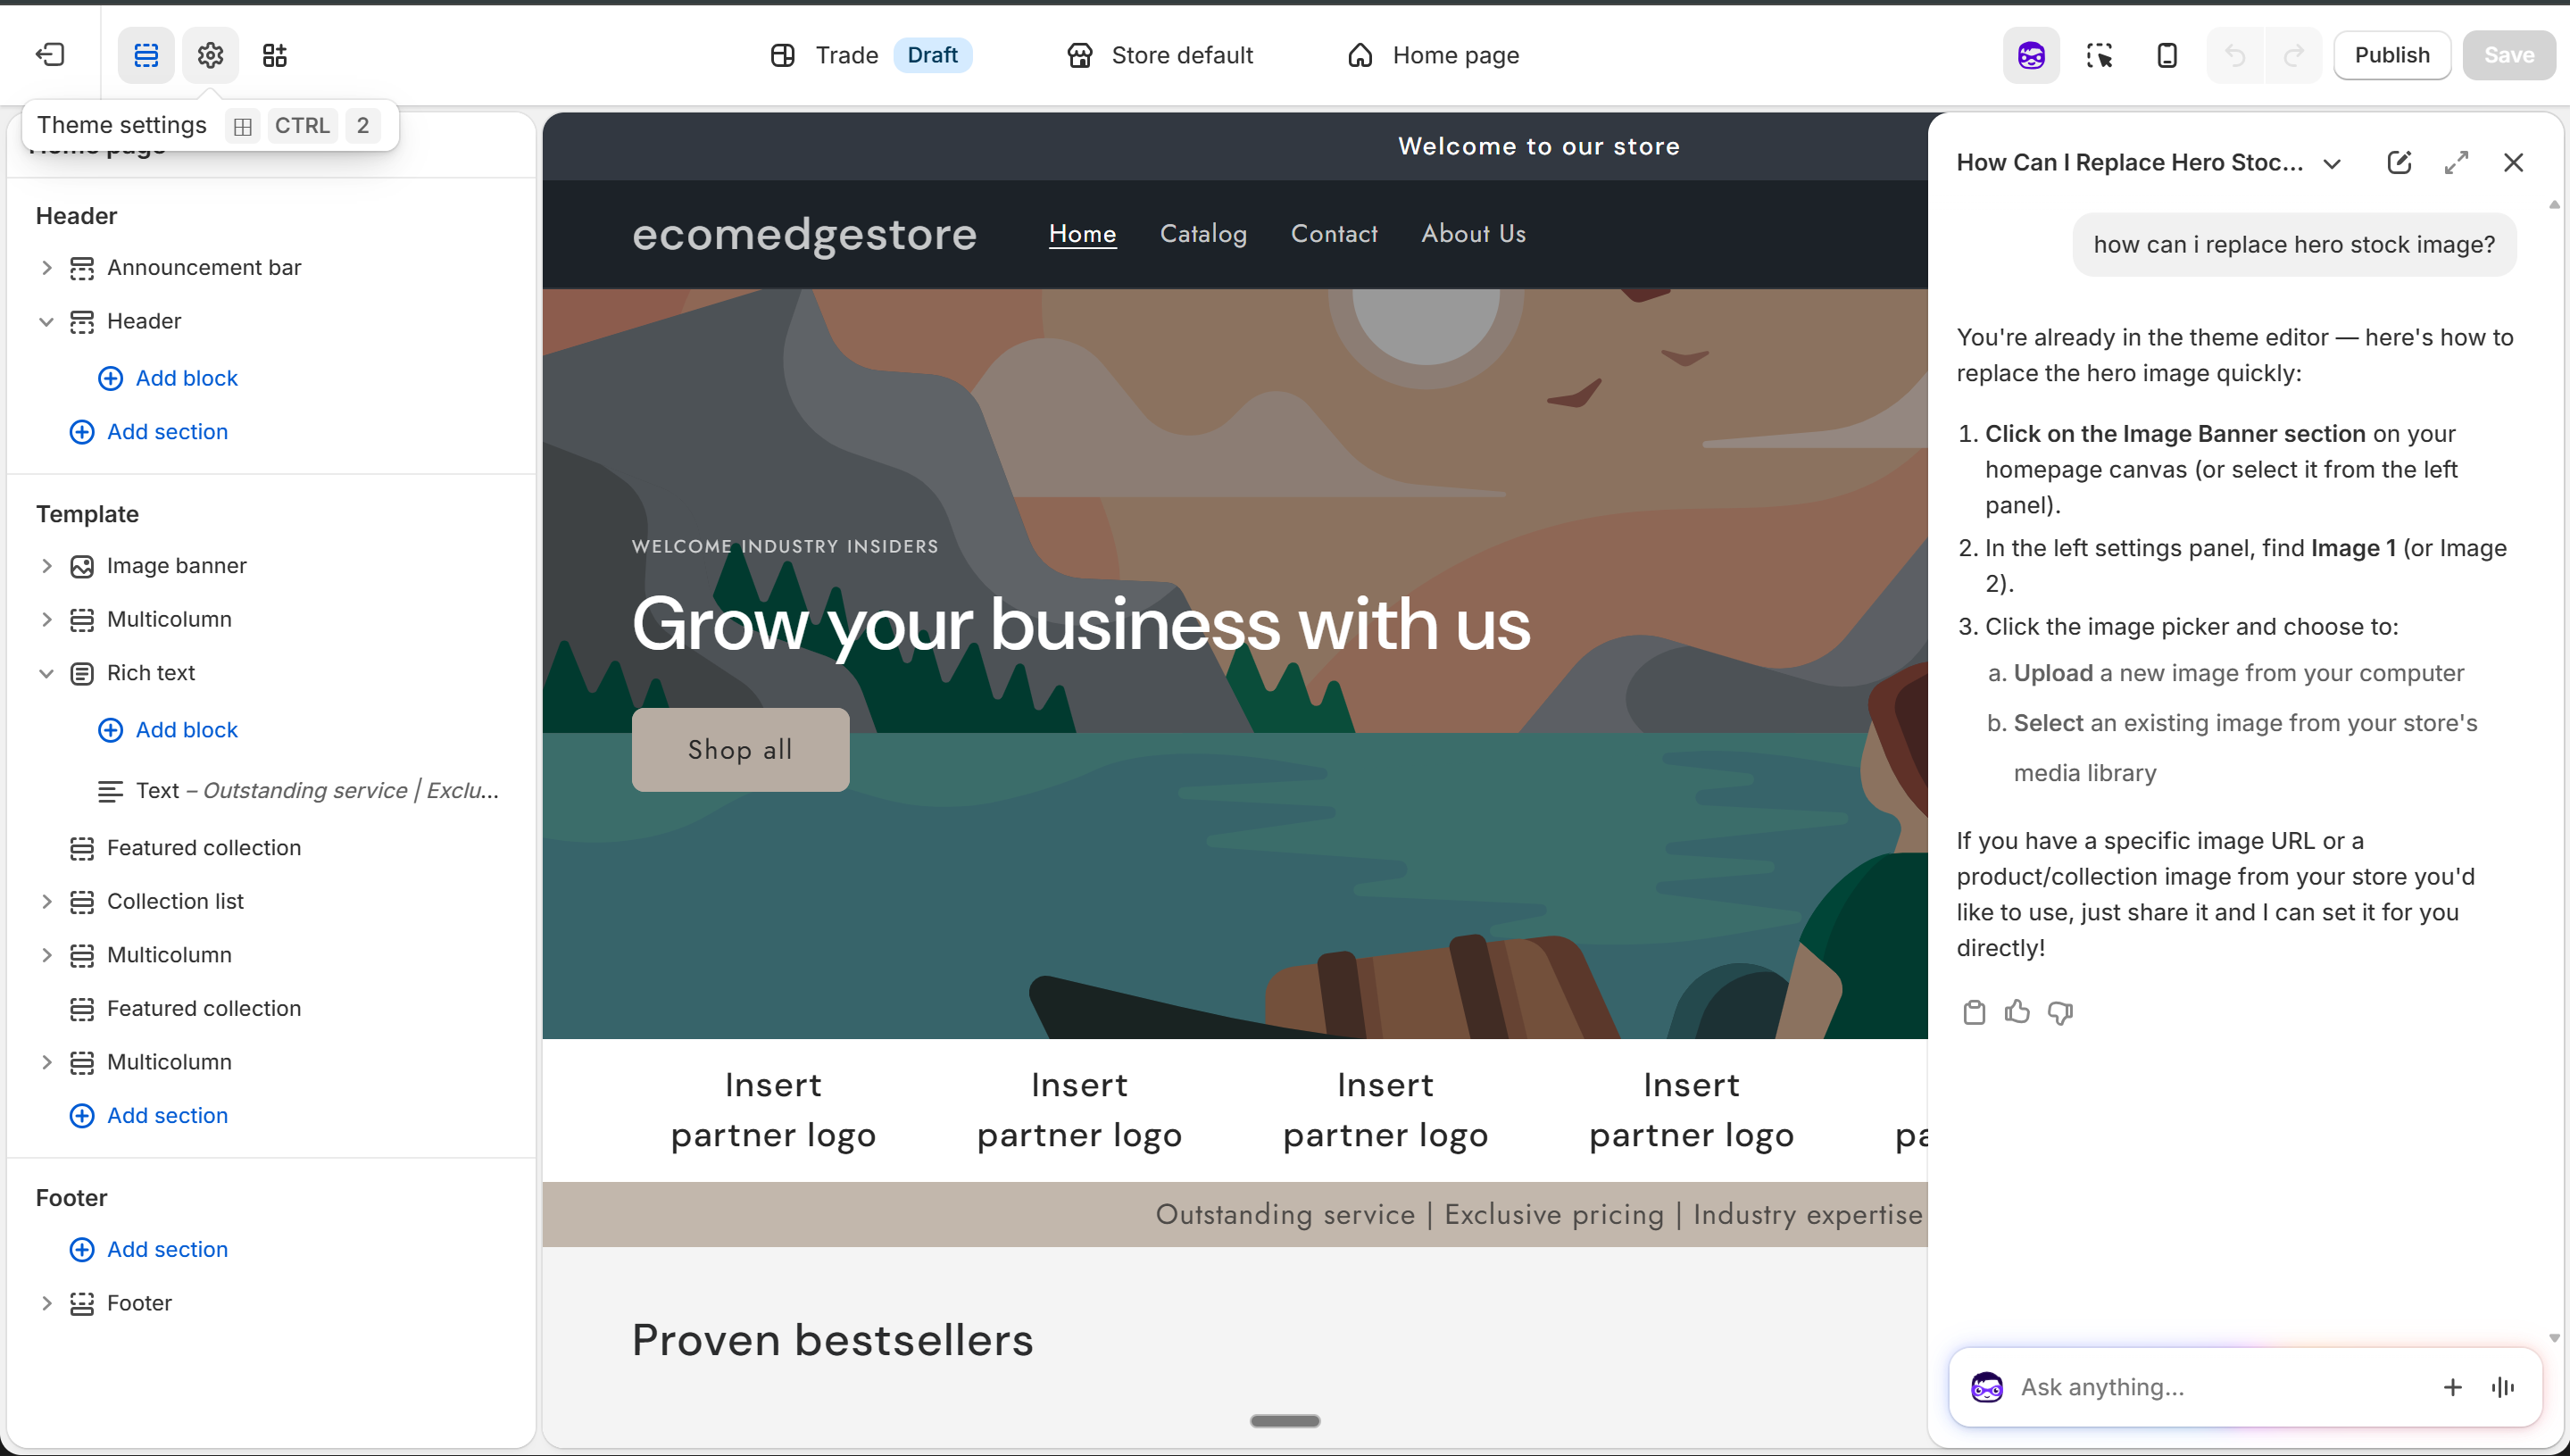
Sidekick answering "How can I replace the hero stock image?" — step-by-step instructions
Theme Editor
What to Set Up First
Go to Theme Settings > Colors. Set your primary color, secondary color, and background. Every section, button, and text element inherits from these. Change it here and it updates everywhere.
Go to Theme Settings > Typography. Choose a heading font and a body font. Stick to 2 fonts maximum. Sans-serif fonts look clean and modern for e-commerce.
Click the Header section in the editor. Upload your logo, set the main navigation menu, and configure the announcement bar if you want one. This shows on every page of your store.
Once colors, fonts, and header are set, you have the foundation. The Product Pages and Homepage Design guides walk you through building those pages section by section, block by block.